How to Make Filter Grain Jars
Often I am asked, how do you make filter grain jars? In this article I will show you step by step how I make fool proof, reusable jars. In fact these jars can be used with almost any tek, even if you do not own a pressure cooker.
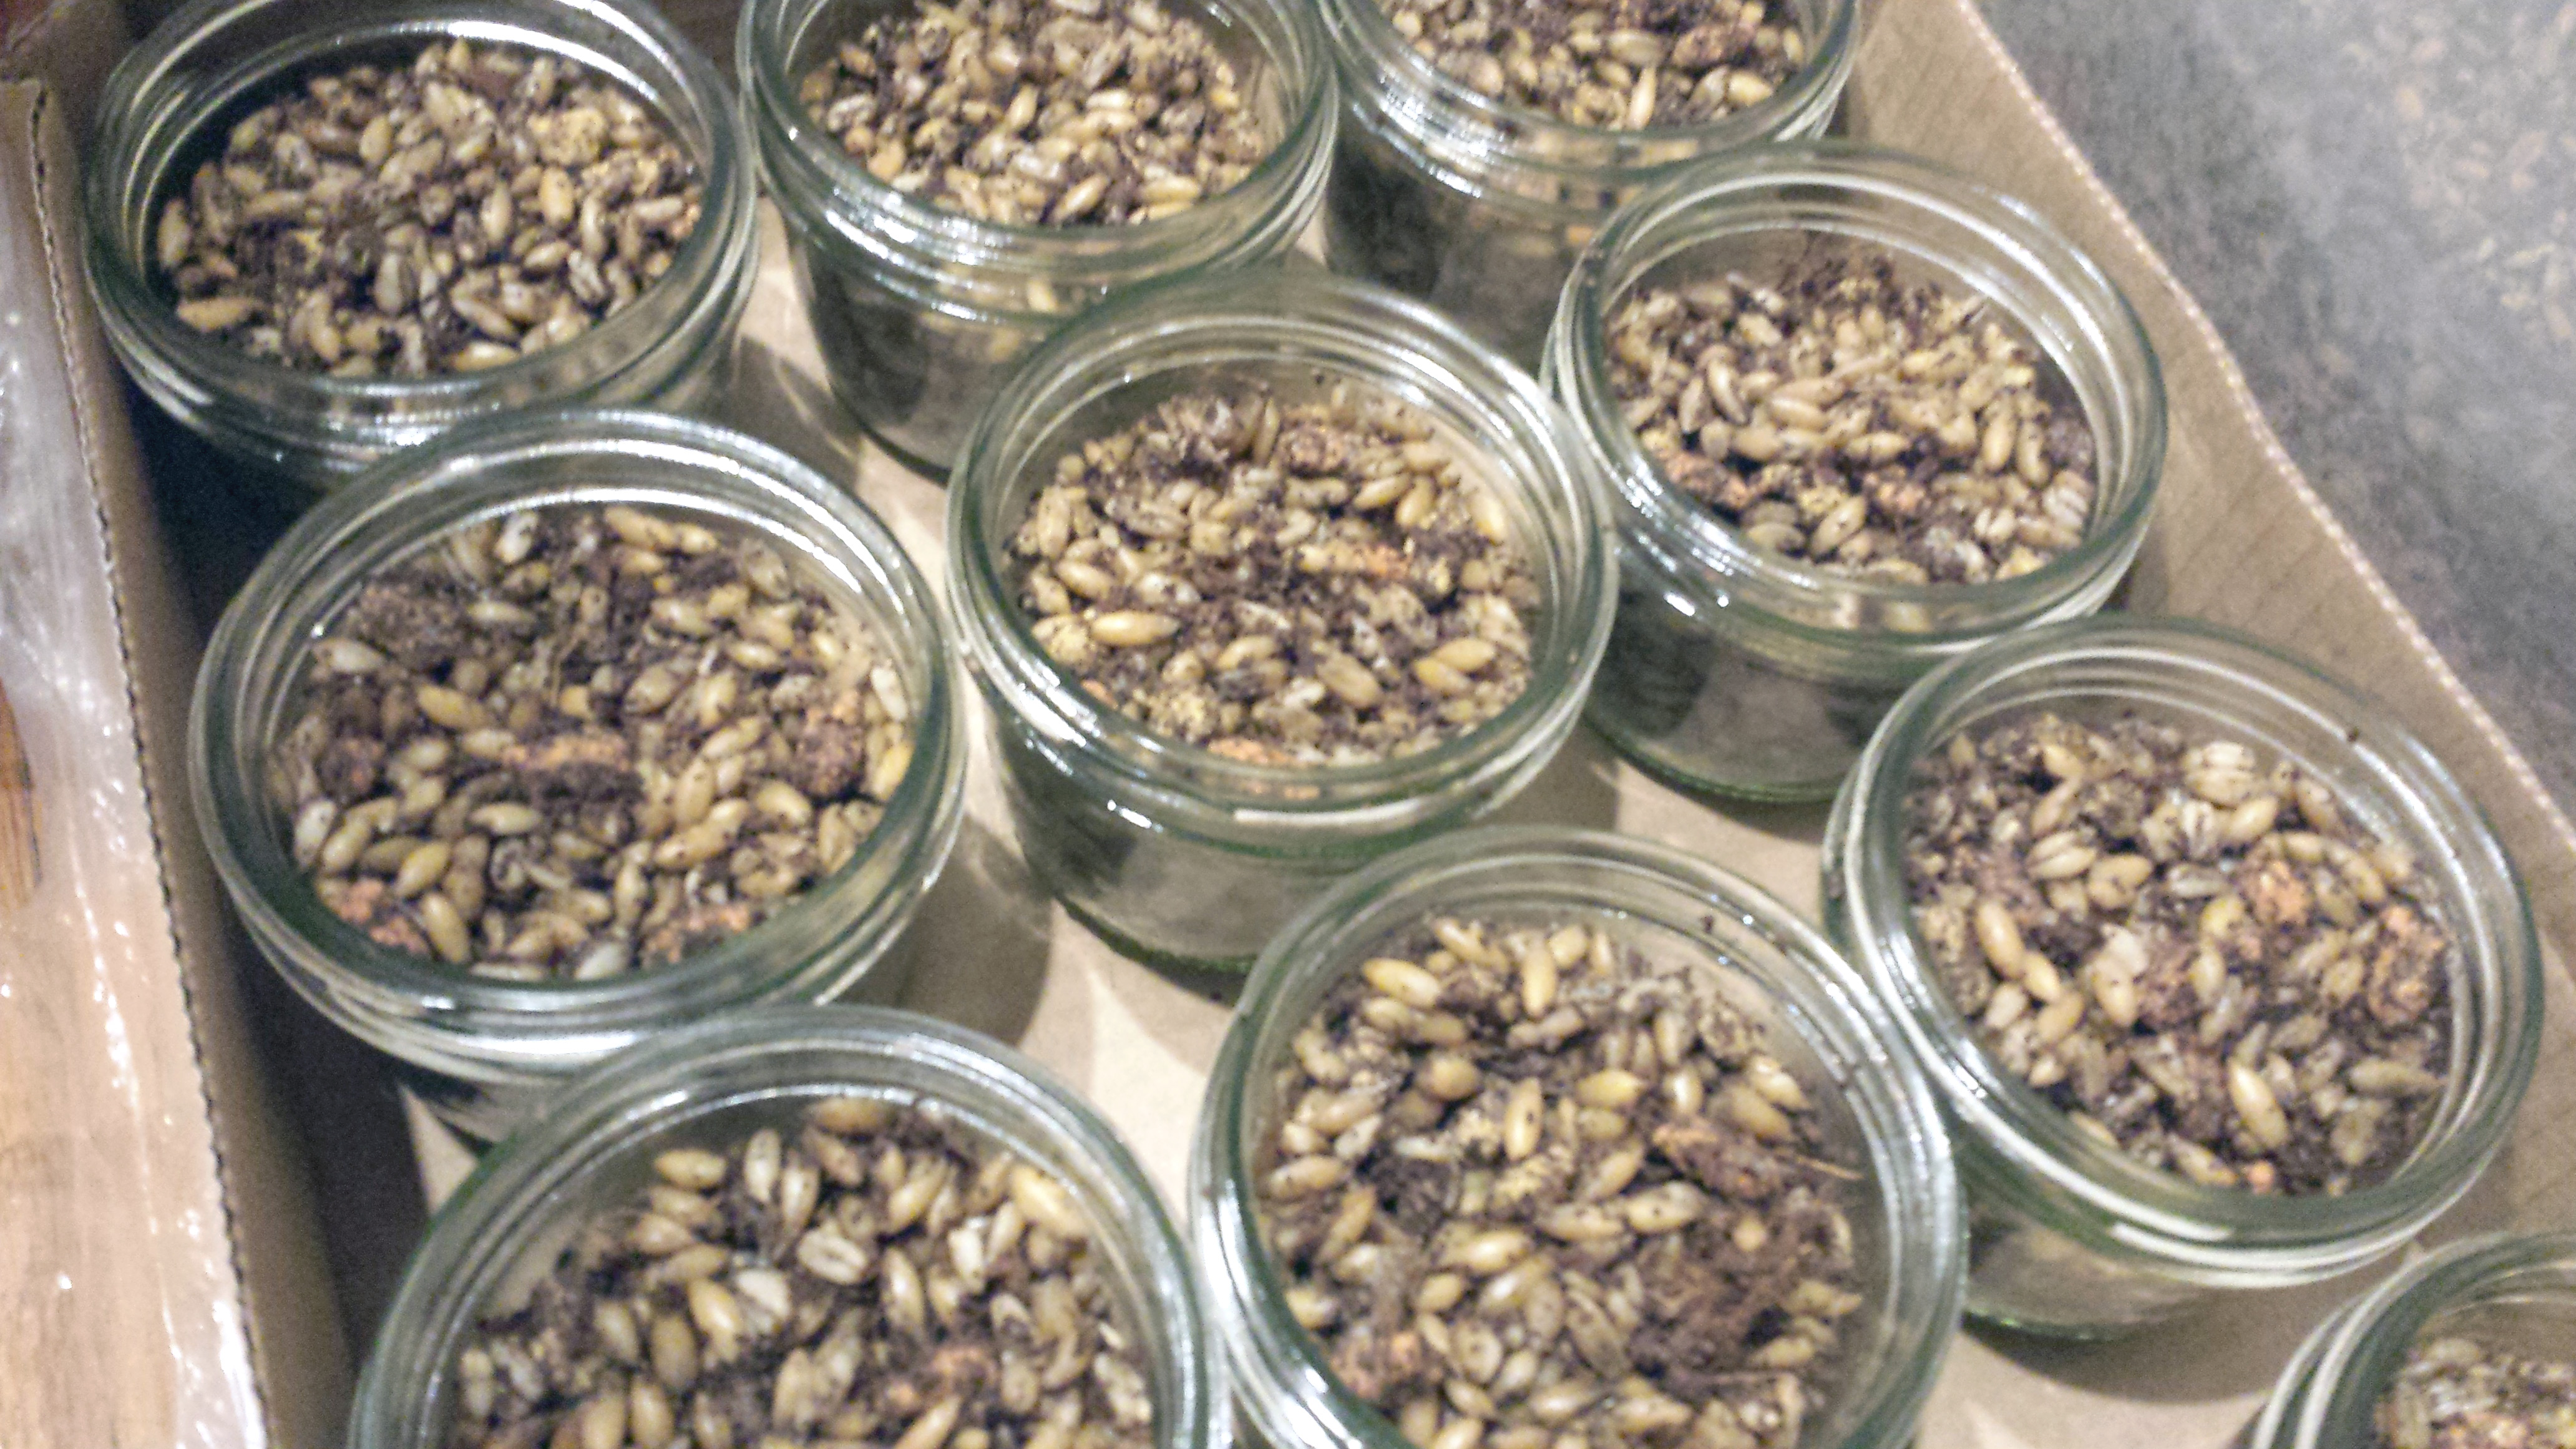
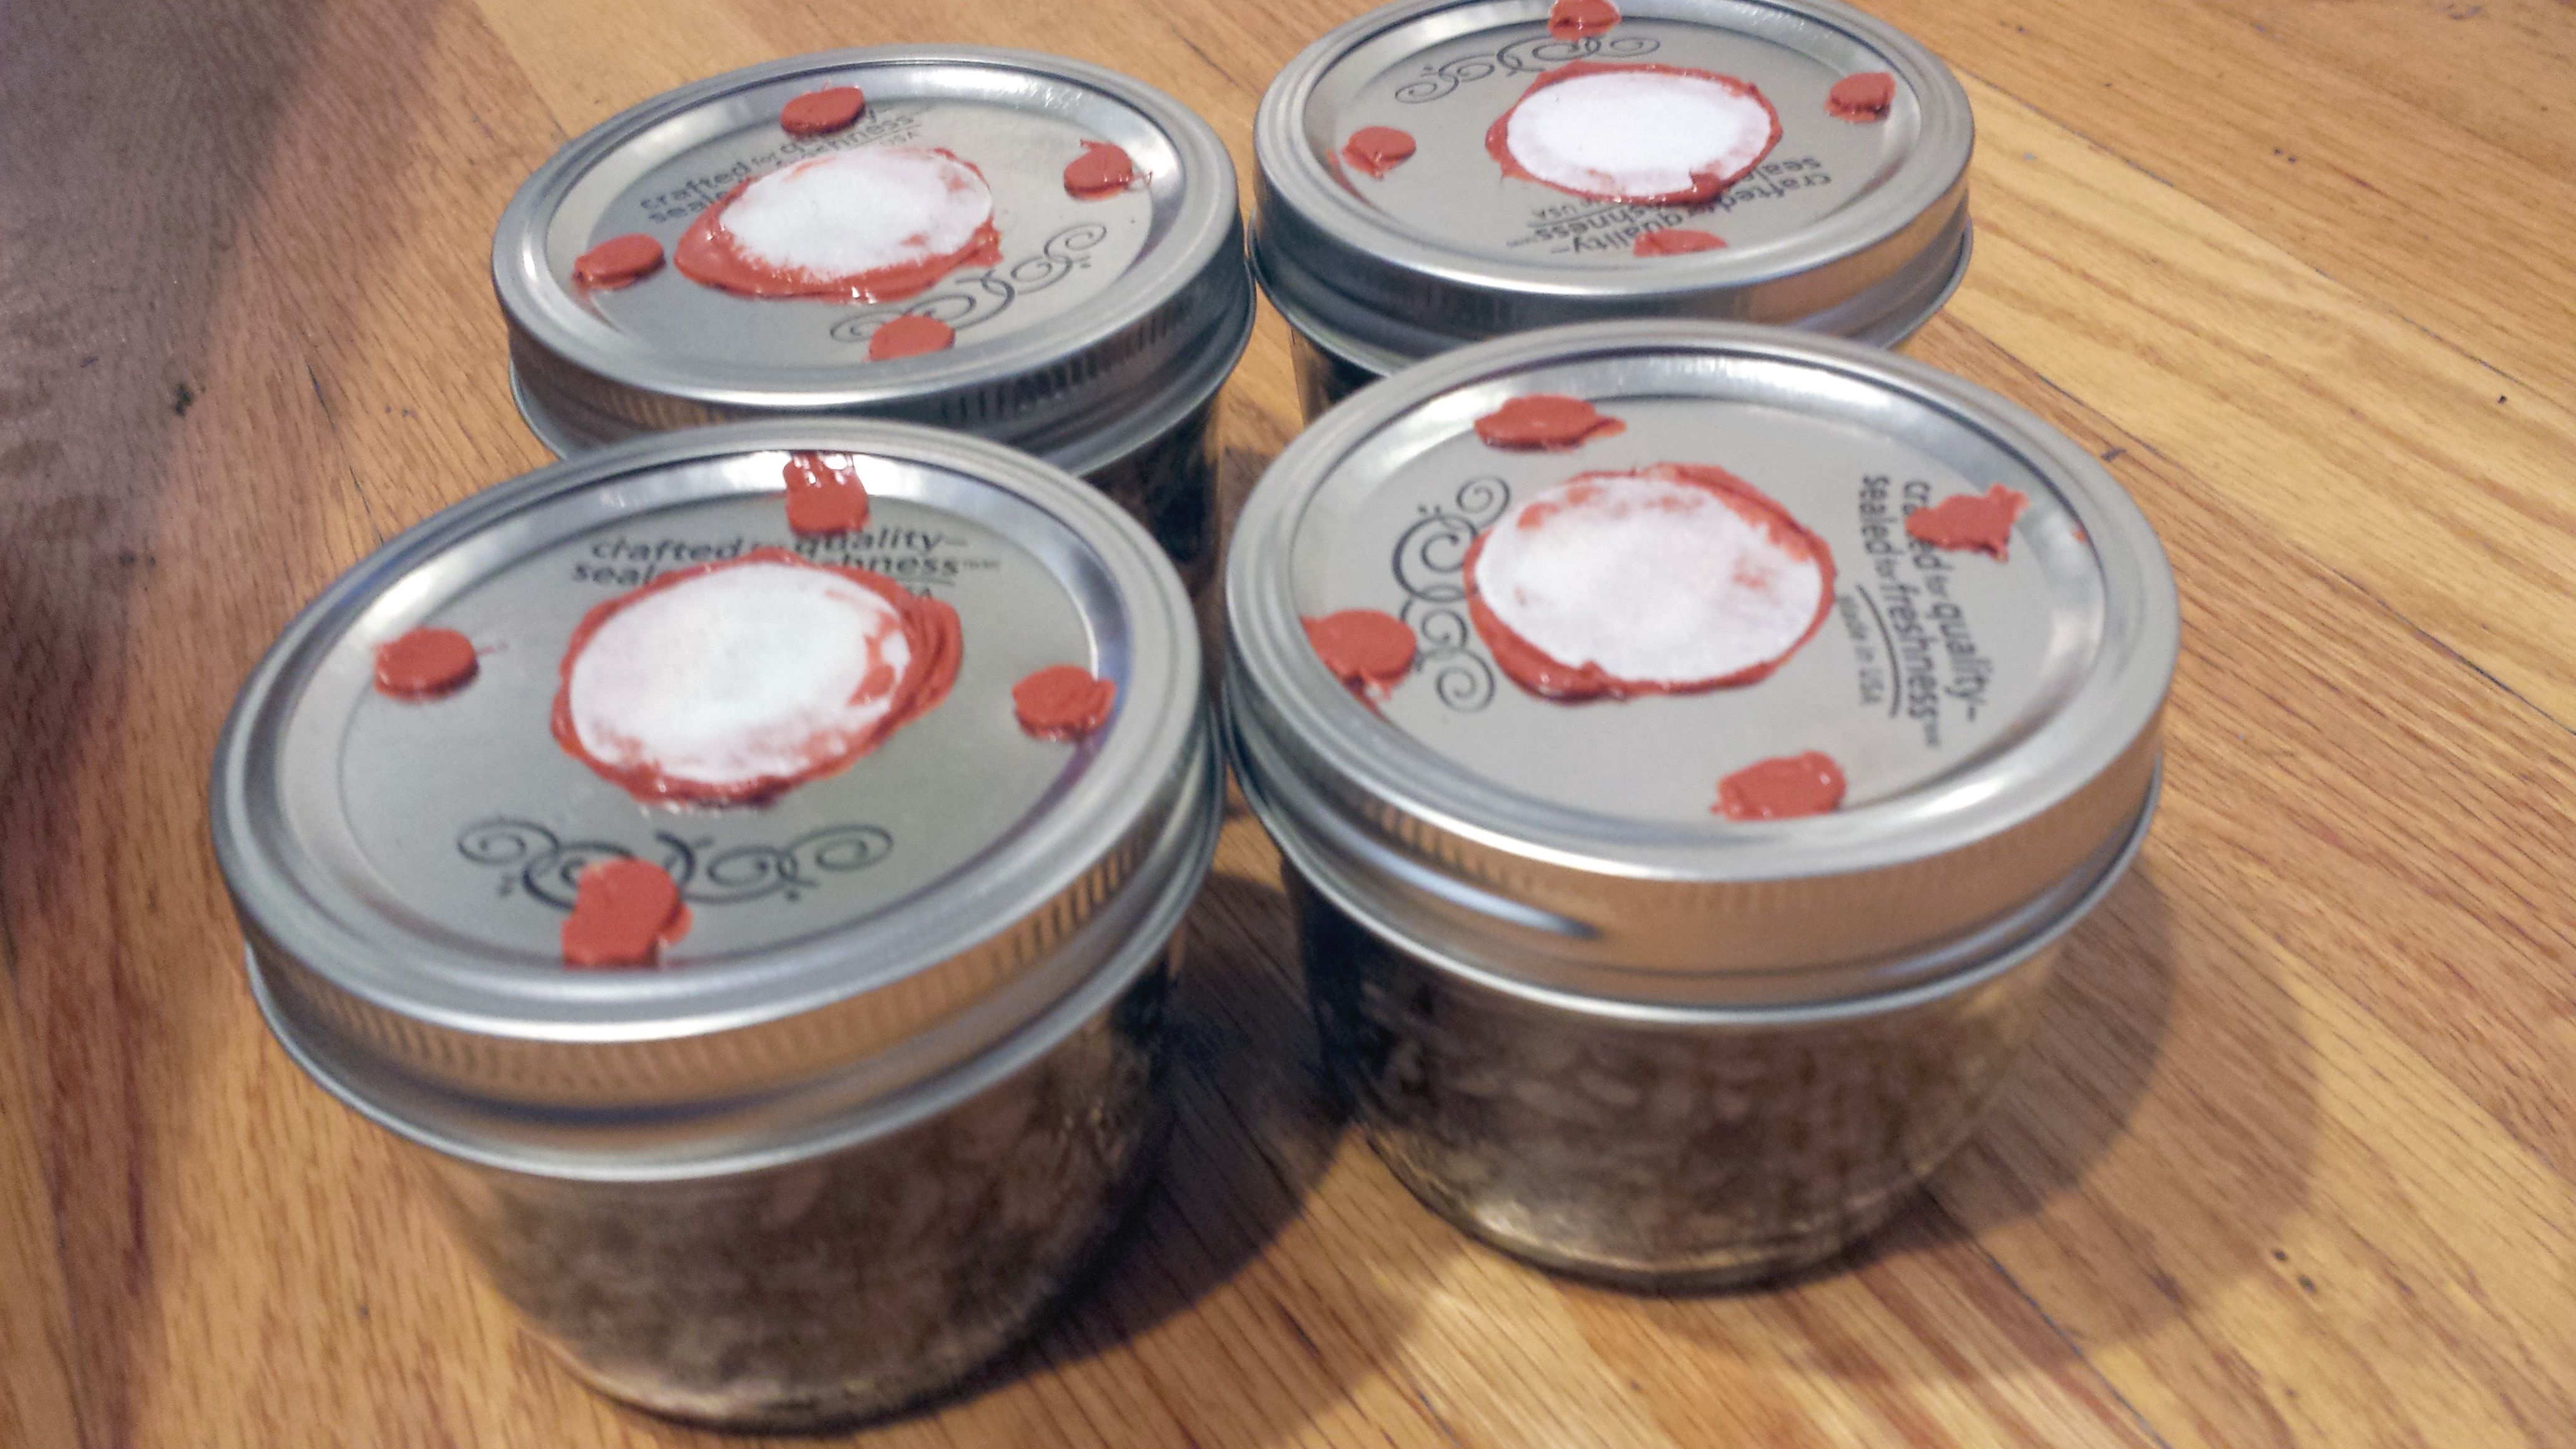
My success rate with these jars has been 99.9% effective against contamination. Here is an example of some of my jars.
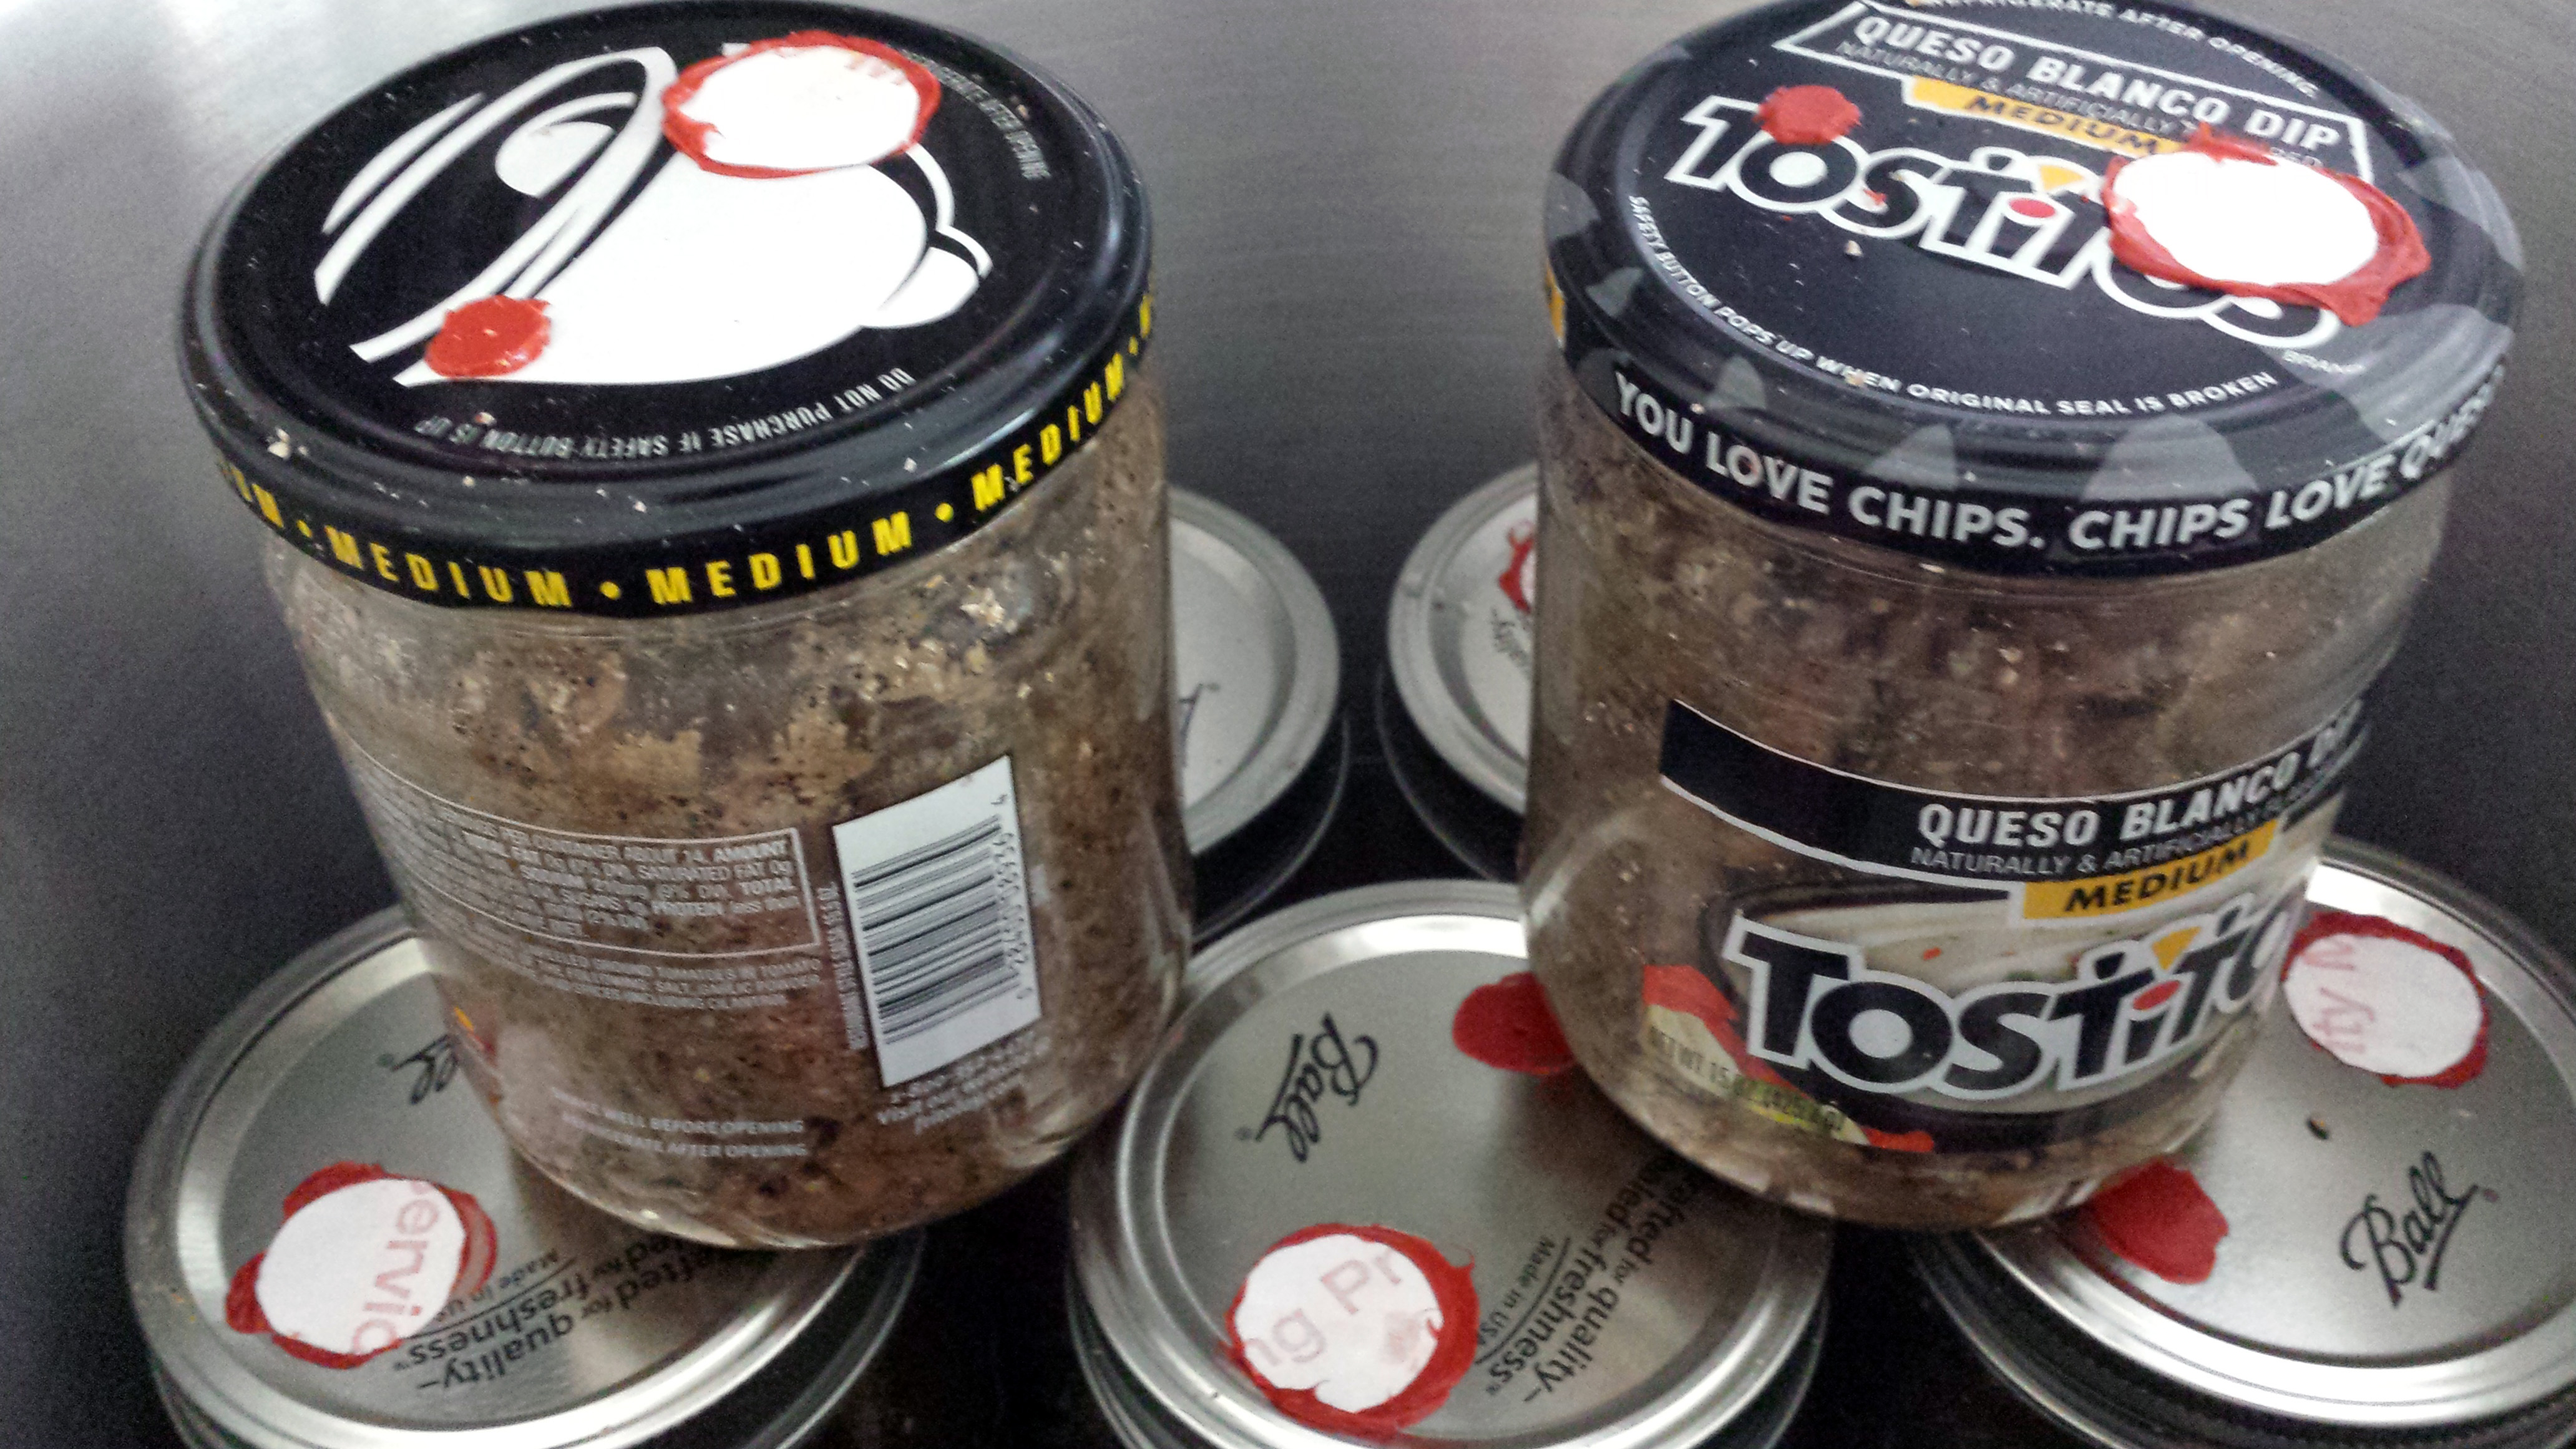
As you can see, you can make a grain jar from just about any glass jar you can find with a metal lid. Typically I use Ball wide-mouth quart size jars . I find the wide mouth jars easier to get the spawn out. I standardize on wide mouth jars and I can swap around lids for any size canning jar. Nothing is wrong with standard size lids. I also like the salsa and queso jars, because they seal well and have a wide mouth as well.
For my purposes I use mycelium cultures that I make in various ways, so I only require a single injection port. In this post, we will be making a more universally usable lid with four injector ports. Let’s dive right in.
Making Filter Grain Jars
1. Gather Materials
We are going to be using half pint size jars, this will provide the greatest flexibility for people new to this rewarding hobby. These can be hard to find, I just get them online. If you want to use quart size jars, and have a pressure cooker, feel free to follow along and make adjustments as needed.
Here is what you will need:
- Jarden Home Brands 12Pk 1/2Pt wide Mouth Jar Canning Jars
- Permatex 81160 High-Temp Red RTV Silicone Gasket, 3 oz.
- Tyvek Envelope OR Easy Felt
- Electric drill, or a nail
- Masking or Painters tape
(optional)
- Sharpie marker (optional)
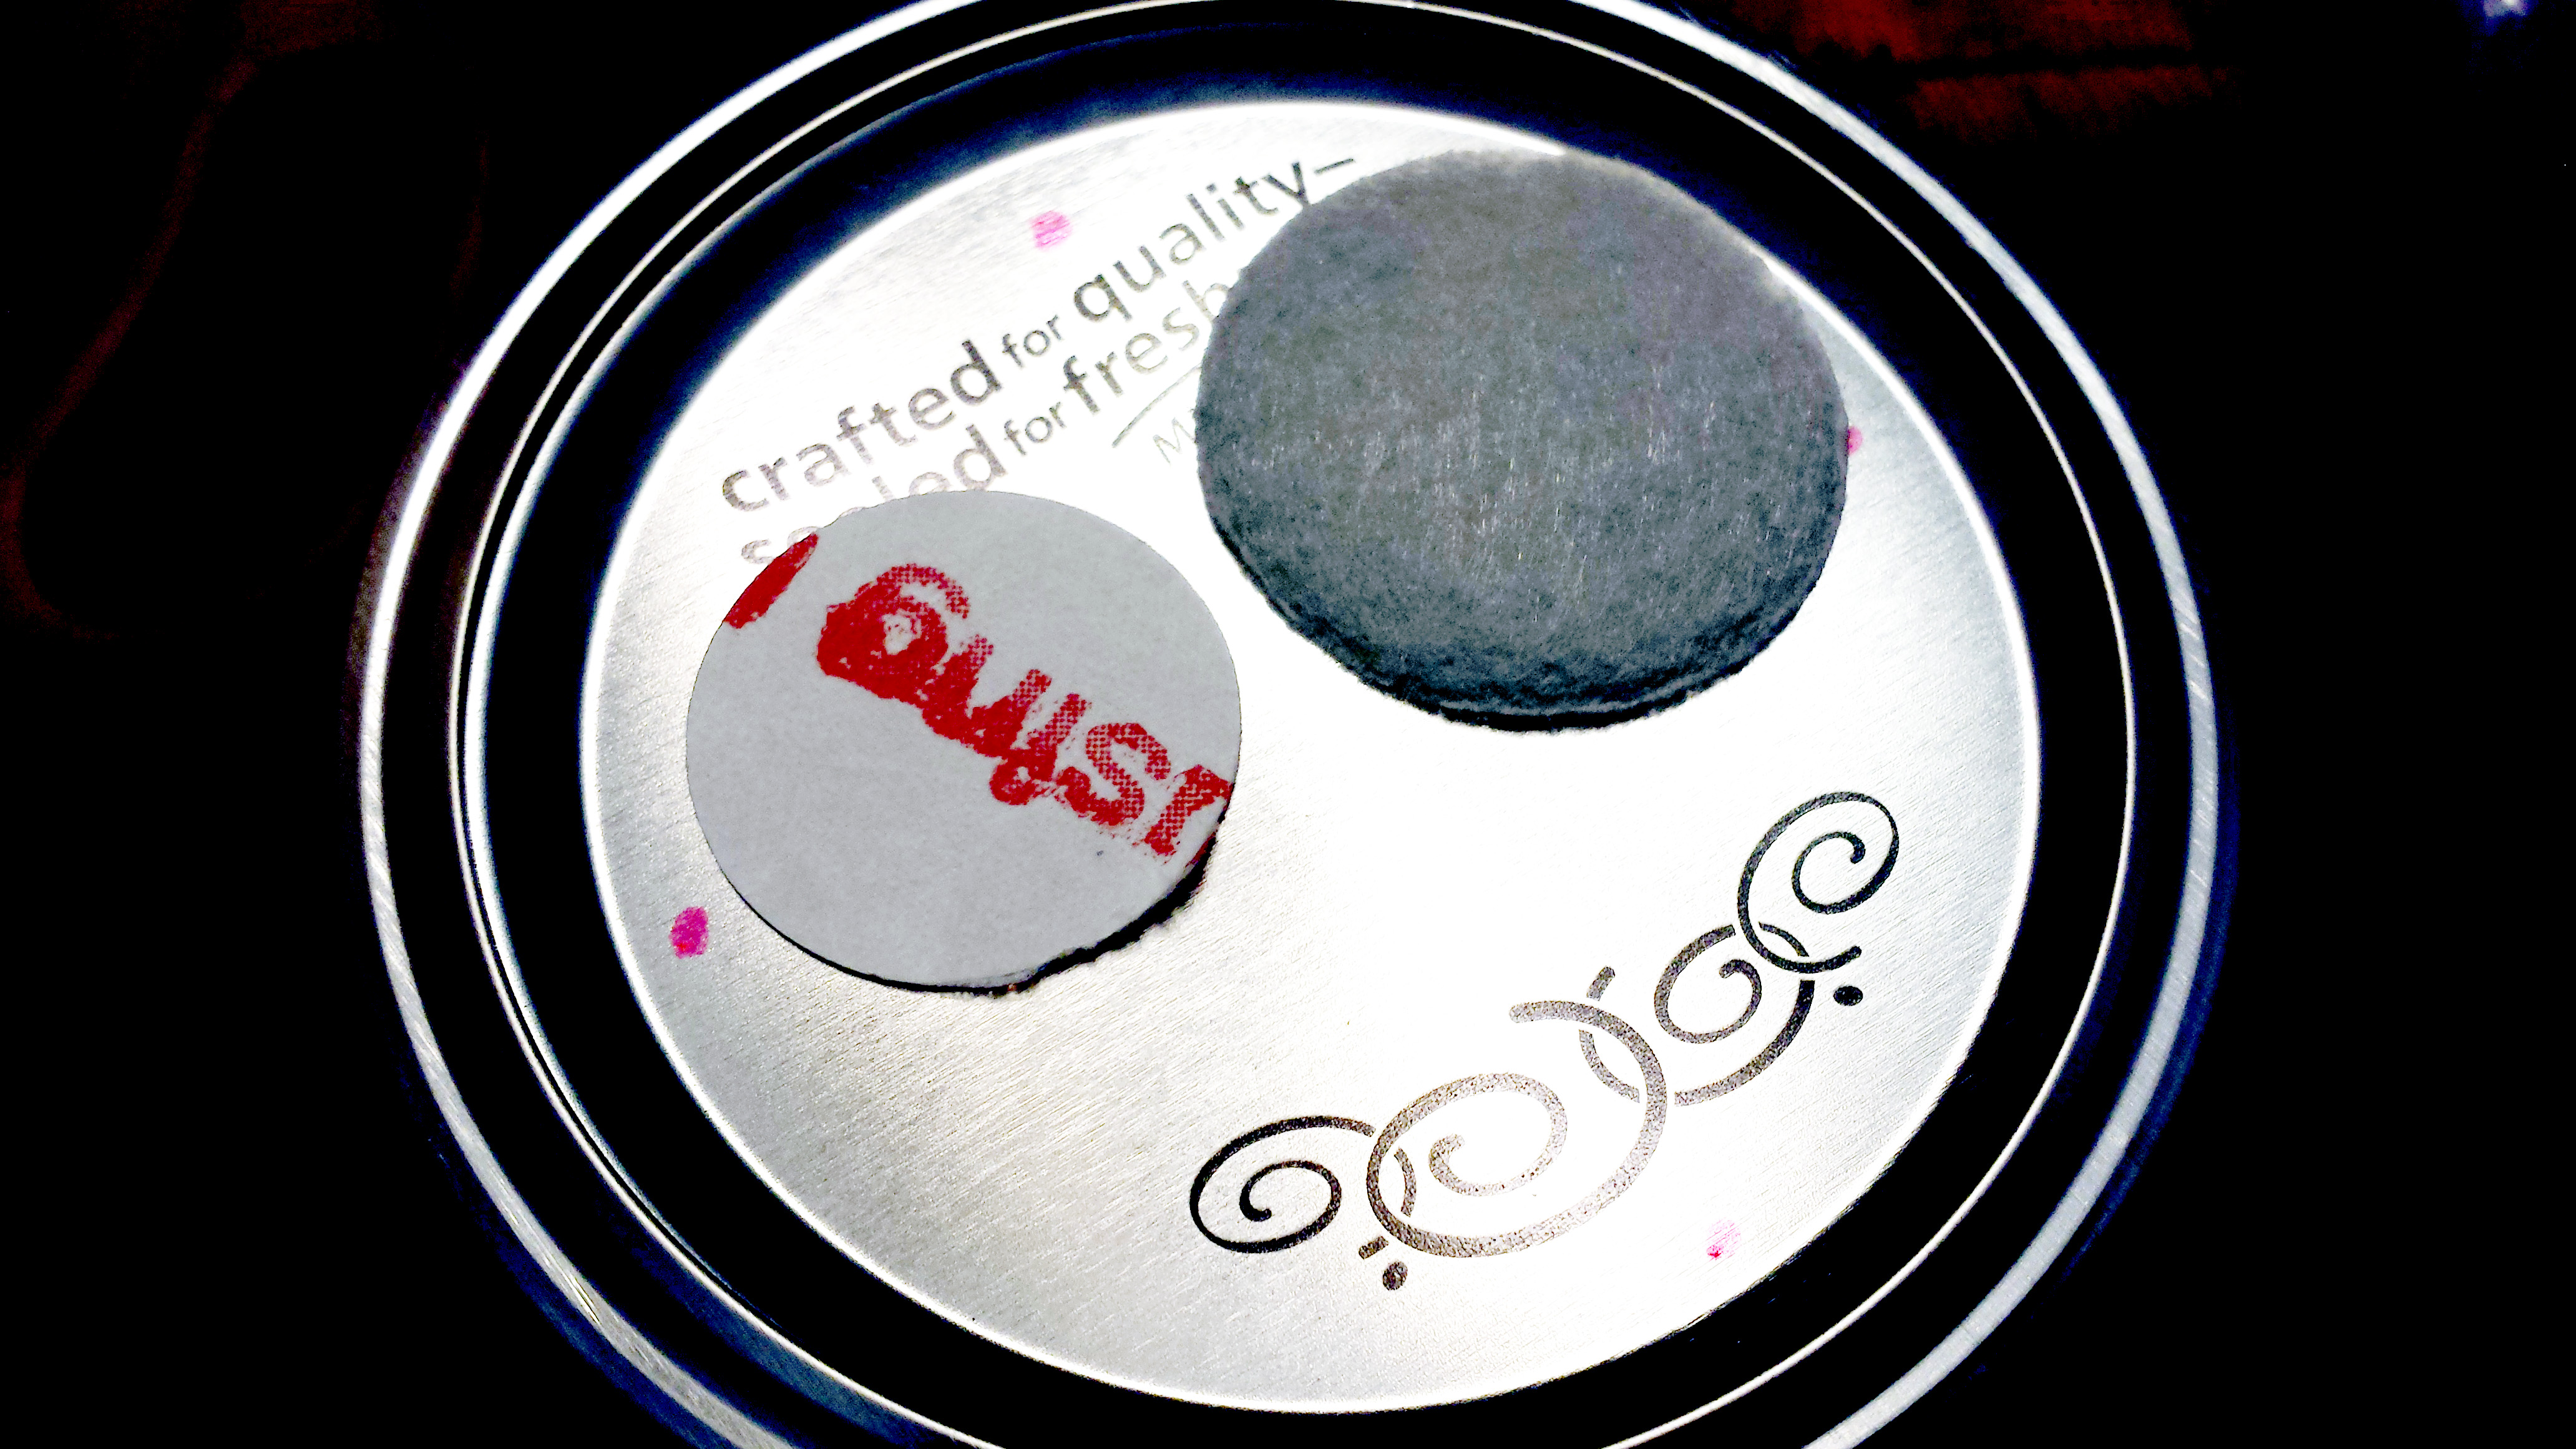
2. Lay it out
Now that you have your filter grain jar lids, take one and mark it up with a sharpie marker. In the picture below, you can see where I marked the 4 spots for the self sealing injector port. Note how my holes are not right up against the edge of the lid. I also have out both a Tyvek envelope and felt circle. These are both 1″ in diameter. I do a lot of these, so I ended up buying pre-cut circles. Normally I just source these materials from a local craft store.
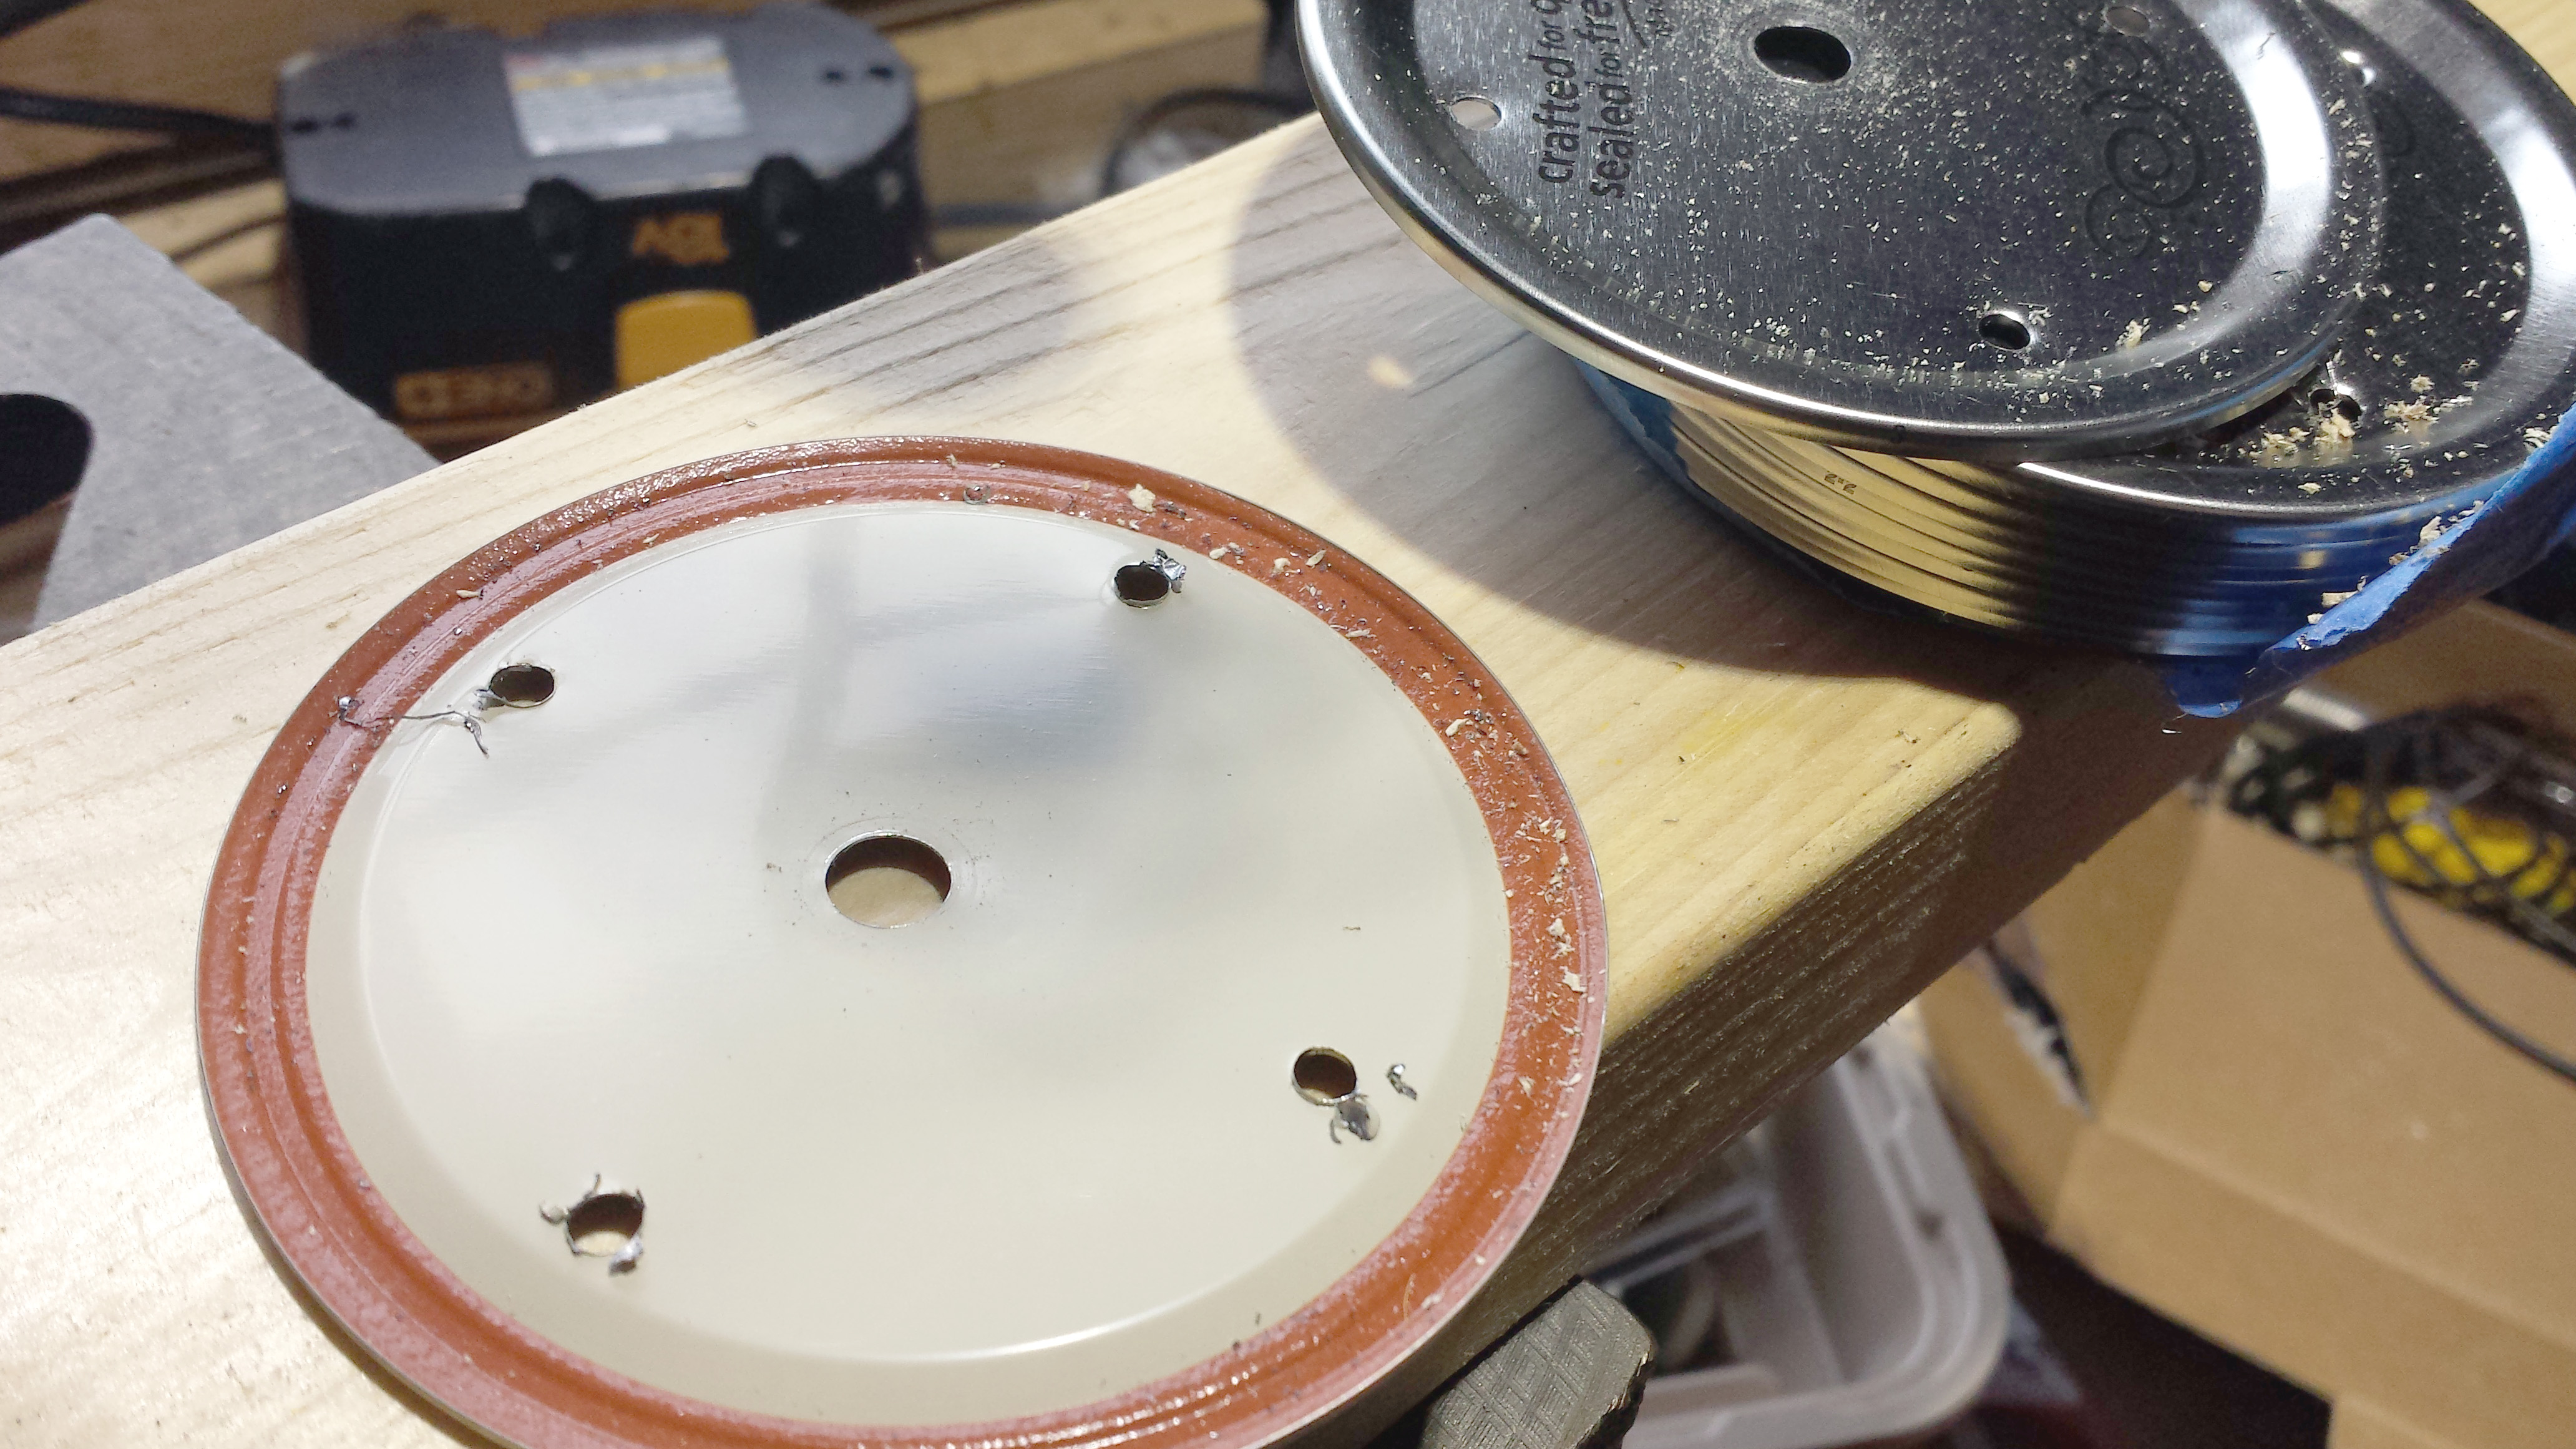
3. Drill
Depending on what you have at hand will determine your exact method of getting holes in your filter grain jar lids. I happen to have a drill press, a hand held drill will work just as well. I have seen a hammer and nail used if you don’t have any power tools. This hobby is very DIY with whatever you have at hand, so no worries.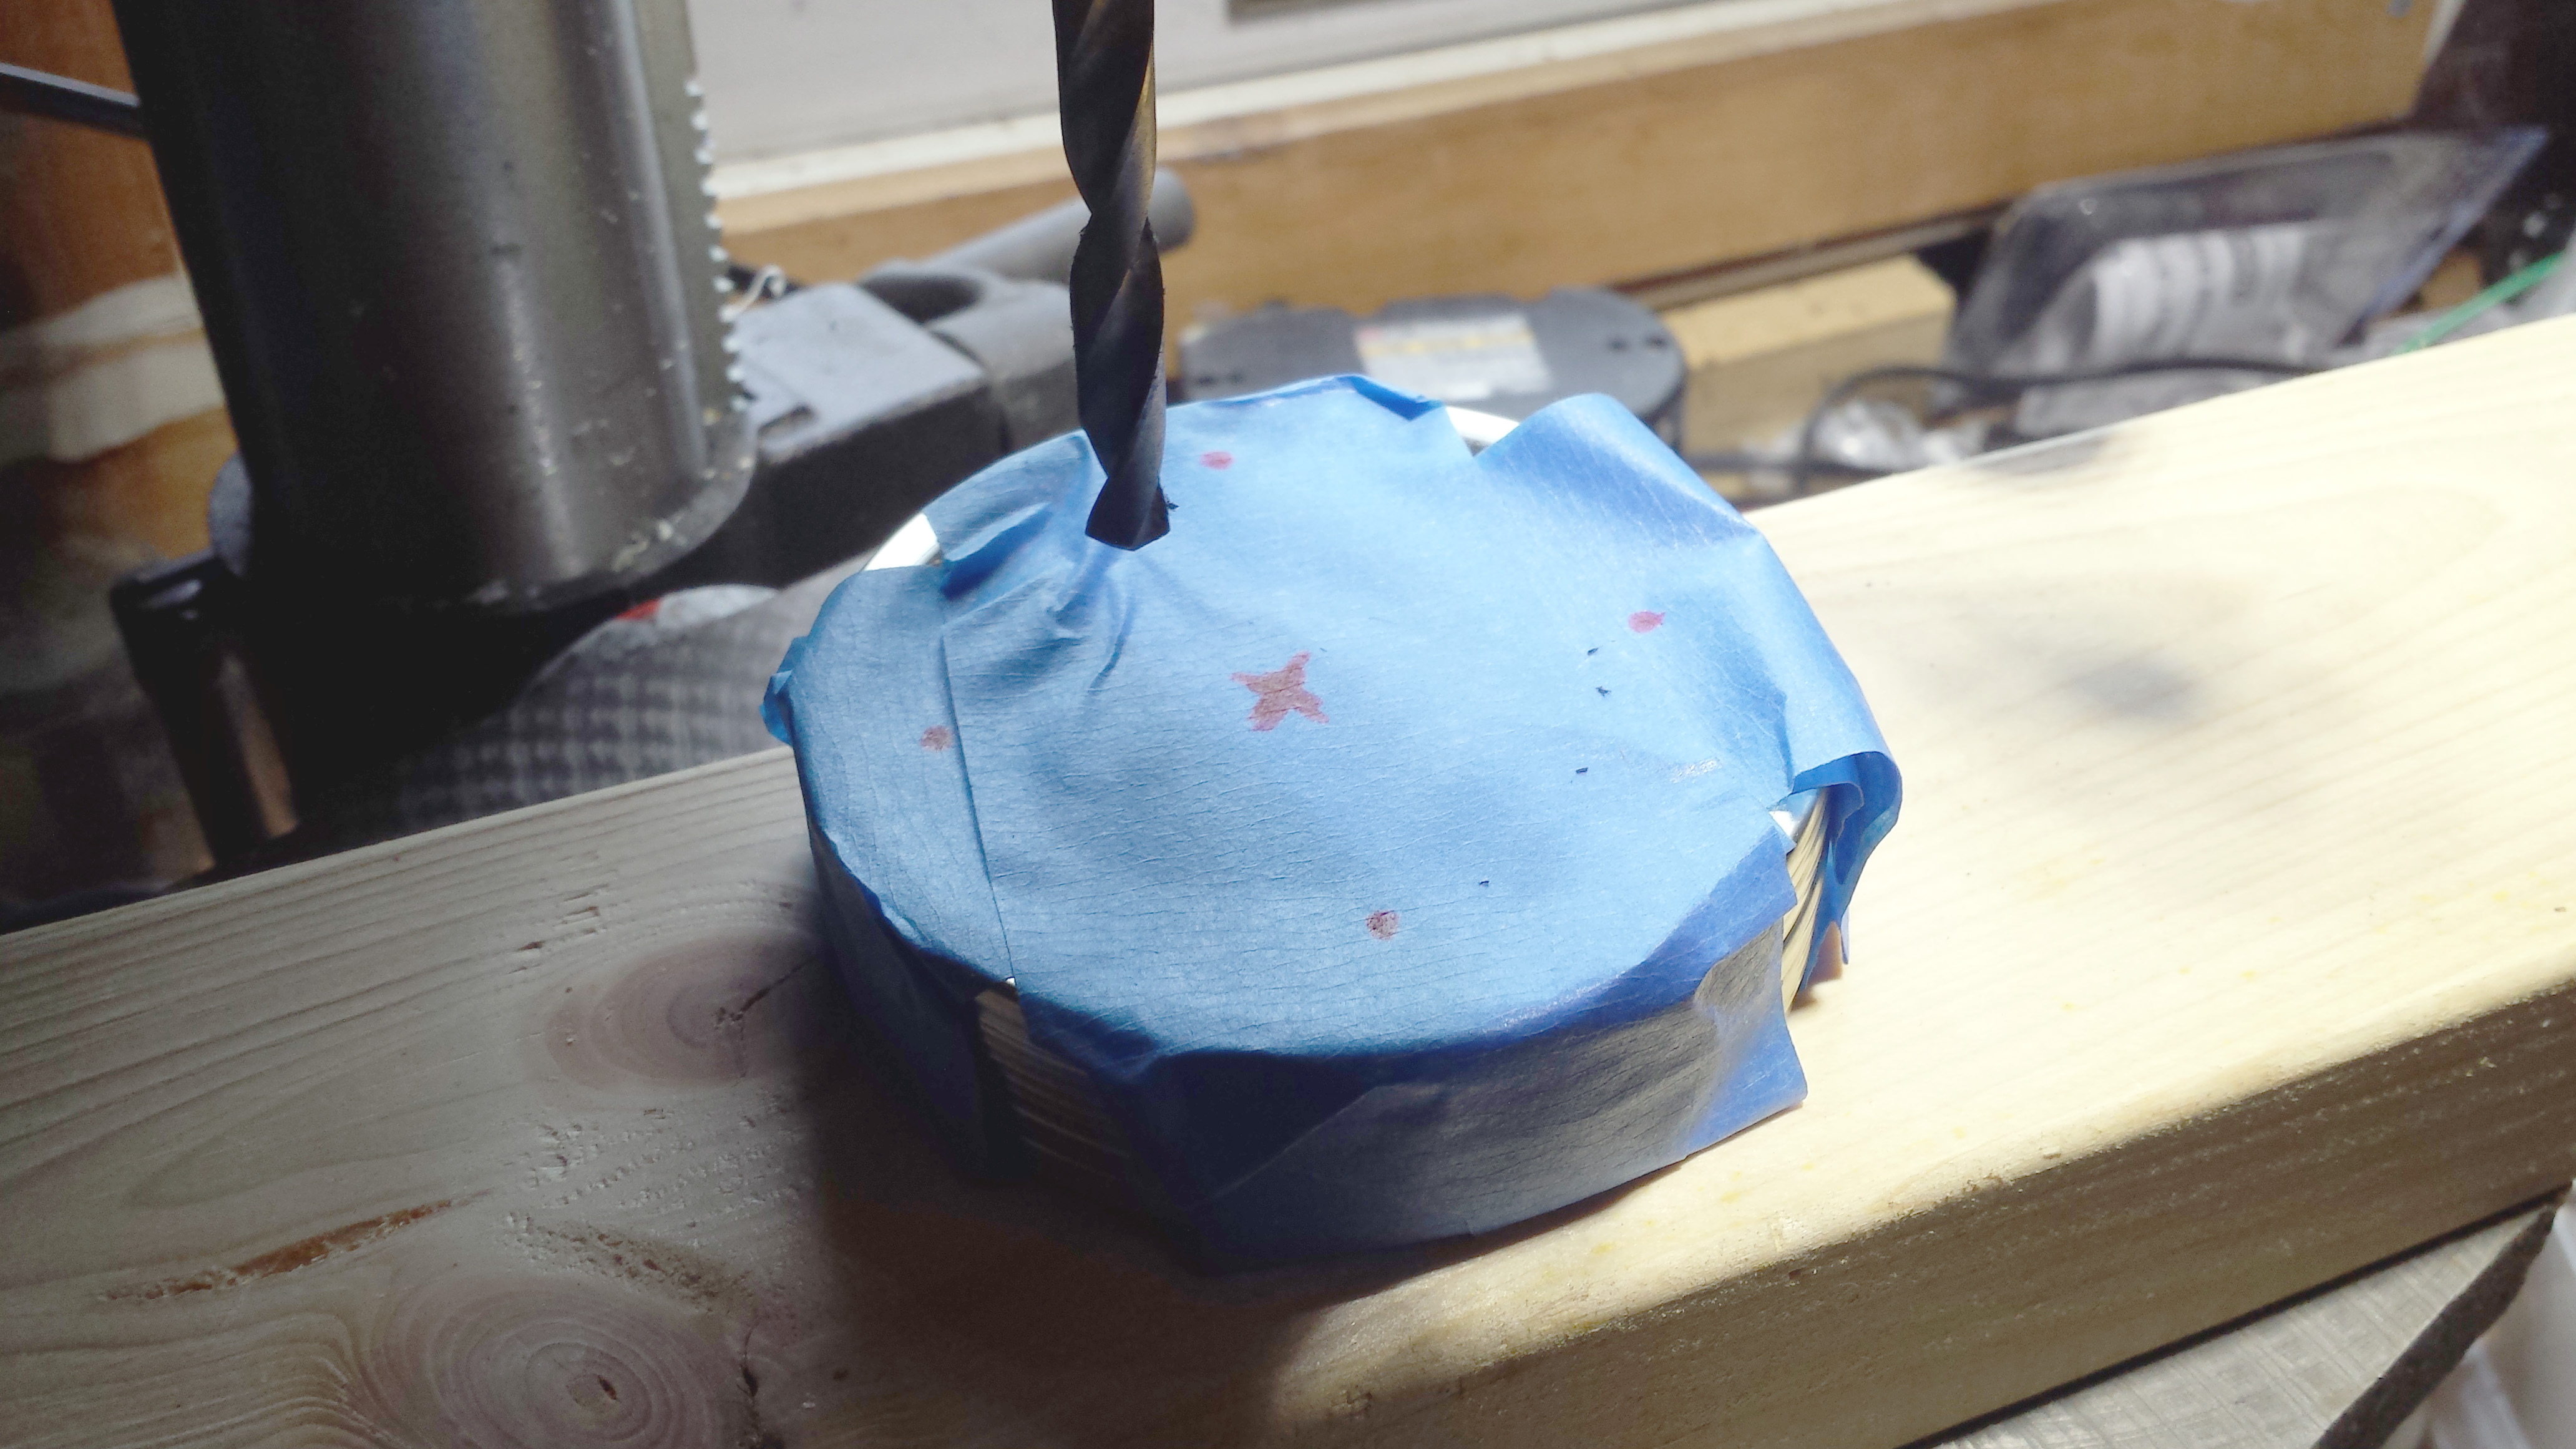
I ganged 12 grain jar lids together using blue painters tape. This lets me drill them all at once. The lids do not stay lined up perfectly, so there is a little bit of drift in the holes. You can easily just do one by one. Remember to use some scrap wood as a backer, so you don’t ruin your drill.
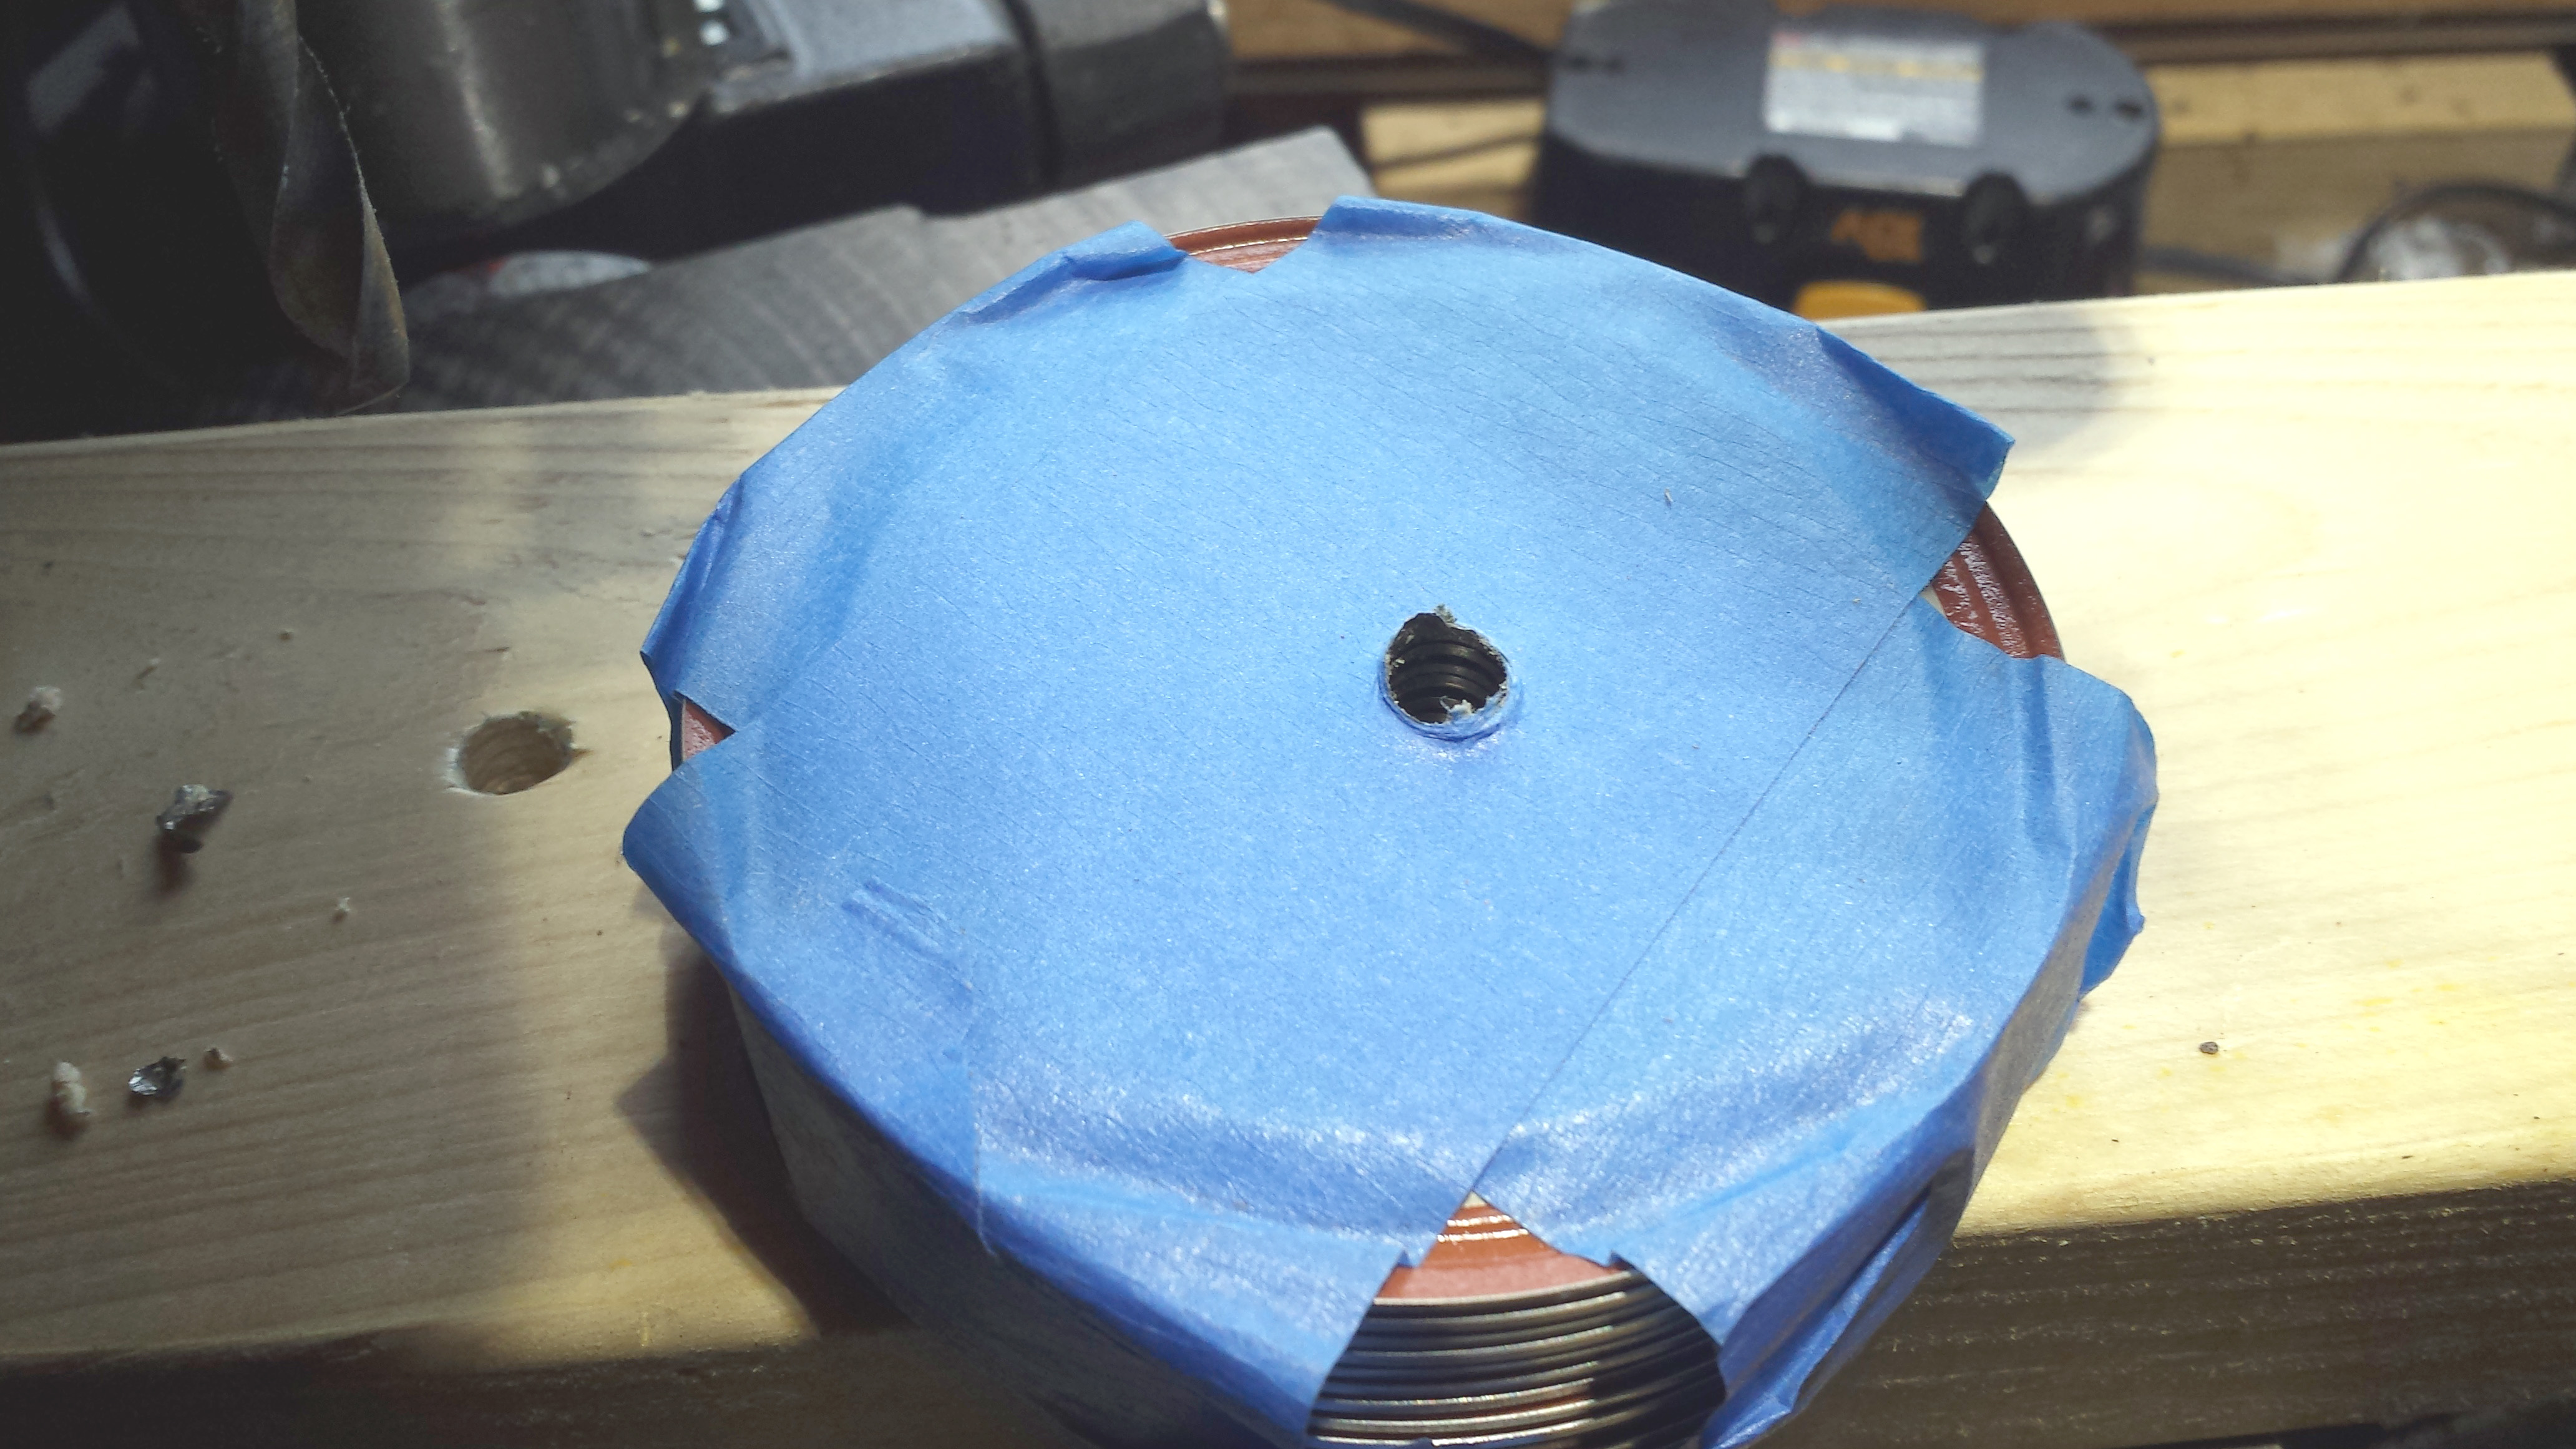 We want one larger hole in the center for gas exchange and four small holes for our self healing injector ports. These don’t have to be exact, I used a 1/8″ drill bit for the four small holes and a 9/32″ drill bit for the center. Once complete it will leave some burring on the holes. Use a metal file to smooth down the sharpest parts. The small holes are not as big of a concern as the large air exchange hole. We will be covering the small ones with gasket sealer, so no one will ever know. Once you knock the sharp burrs off, I wipe it with a dry cloth to get any remaining wood and metal dust off.
4. Add the Air Exchange Filters
For this next part, you are going to want to wear a pair of disposable gloves. I did not want to spend the rest of the afternoon picking red bits out of my finger nails. Needless to say, this part is going to be messy.
I like to start with the center air exchange filter first. I find the most reliable method is to remove the filter off the filter grain jar lid. My filters are one inch in diameter so I make little dots of gasket sealer a little under one inch. This way some of the gasket maker is pushed outside the filter, but most glues it down to the metal. I need to get more pictures, my hands were much too messy to operate my camera.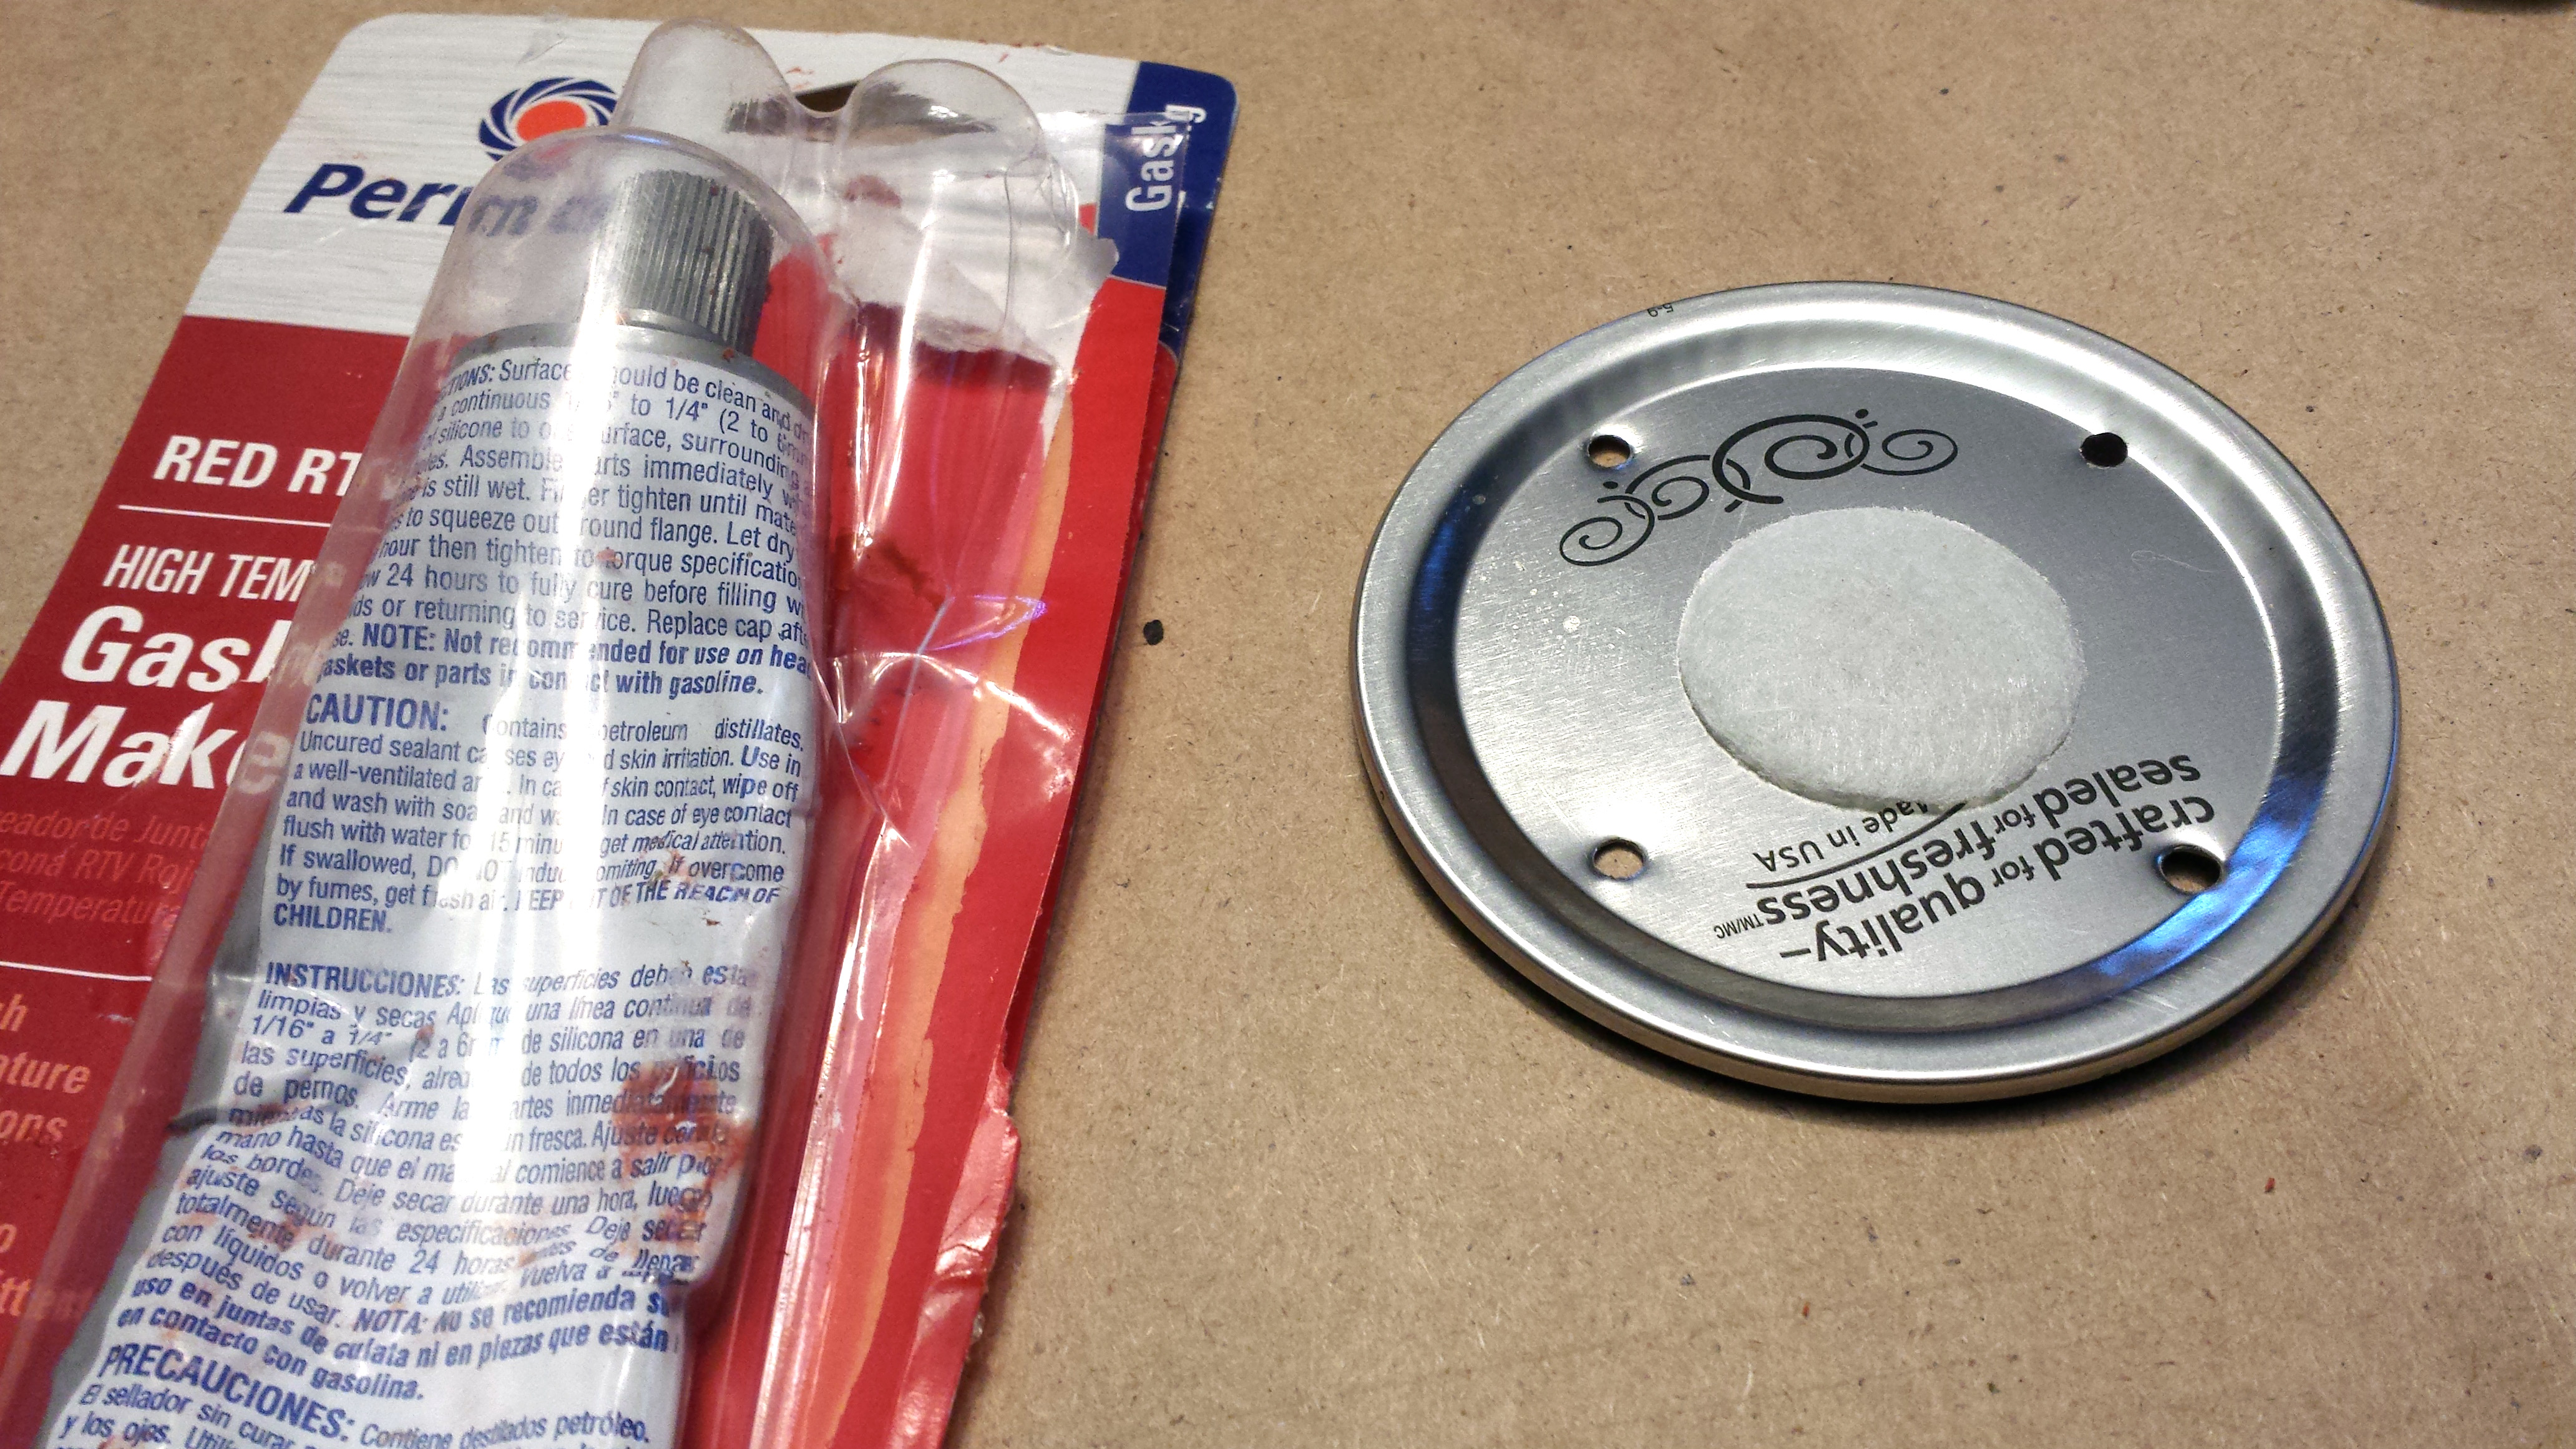
Once you have a ring of 6-8 pea sized dots I place the filter back on the jar and with firm finger pressure, rotate the patch 360 degrees to make sure the gasket sealer seals evenly. Check the underside of the hole to make sure you didn’t get gasket sealer underneath, blocking air flow. Let it dry for several hours.
Once the filter patch is dry, place a small drop of gasket sealer on each side of the hour injection holes. Pro-tip, set the lid on wax paper to prevent it from sticking to your table. Once this is dry, congratulations you have a filter grain jar lid.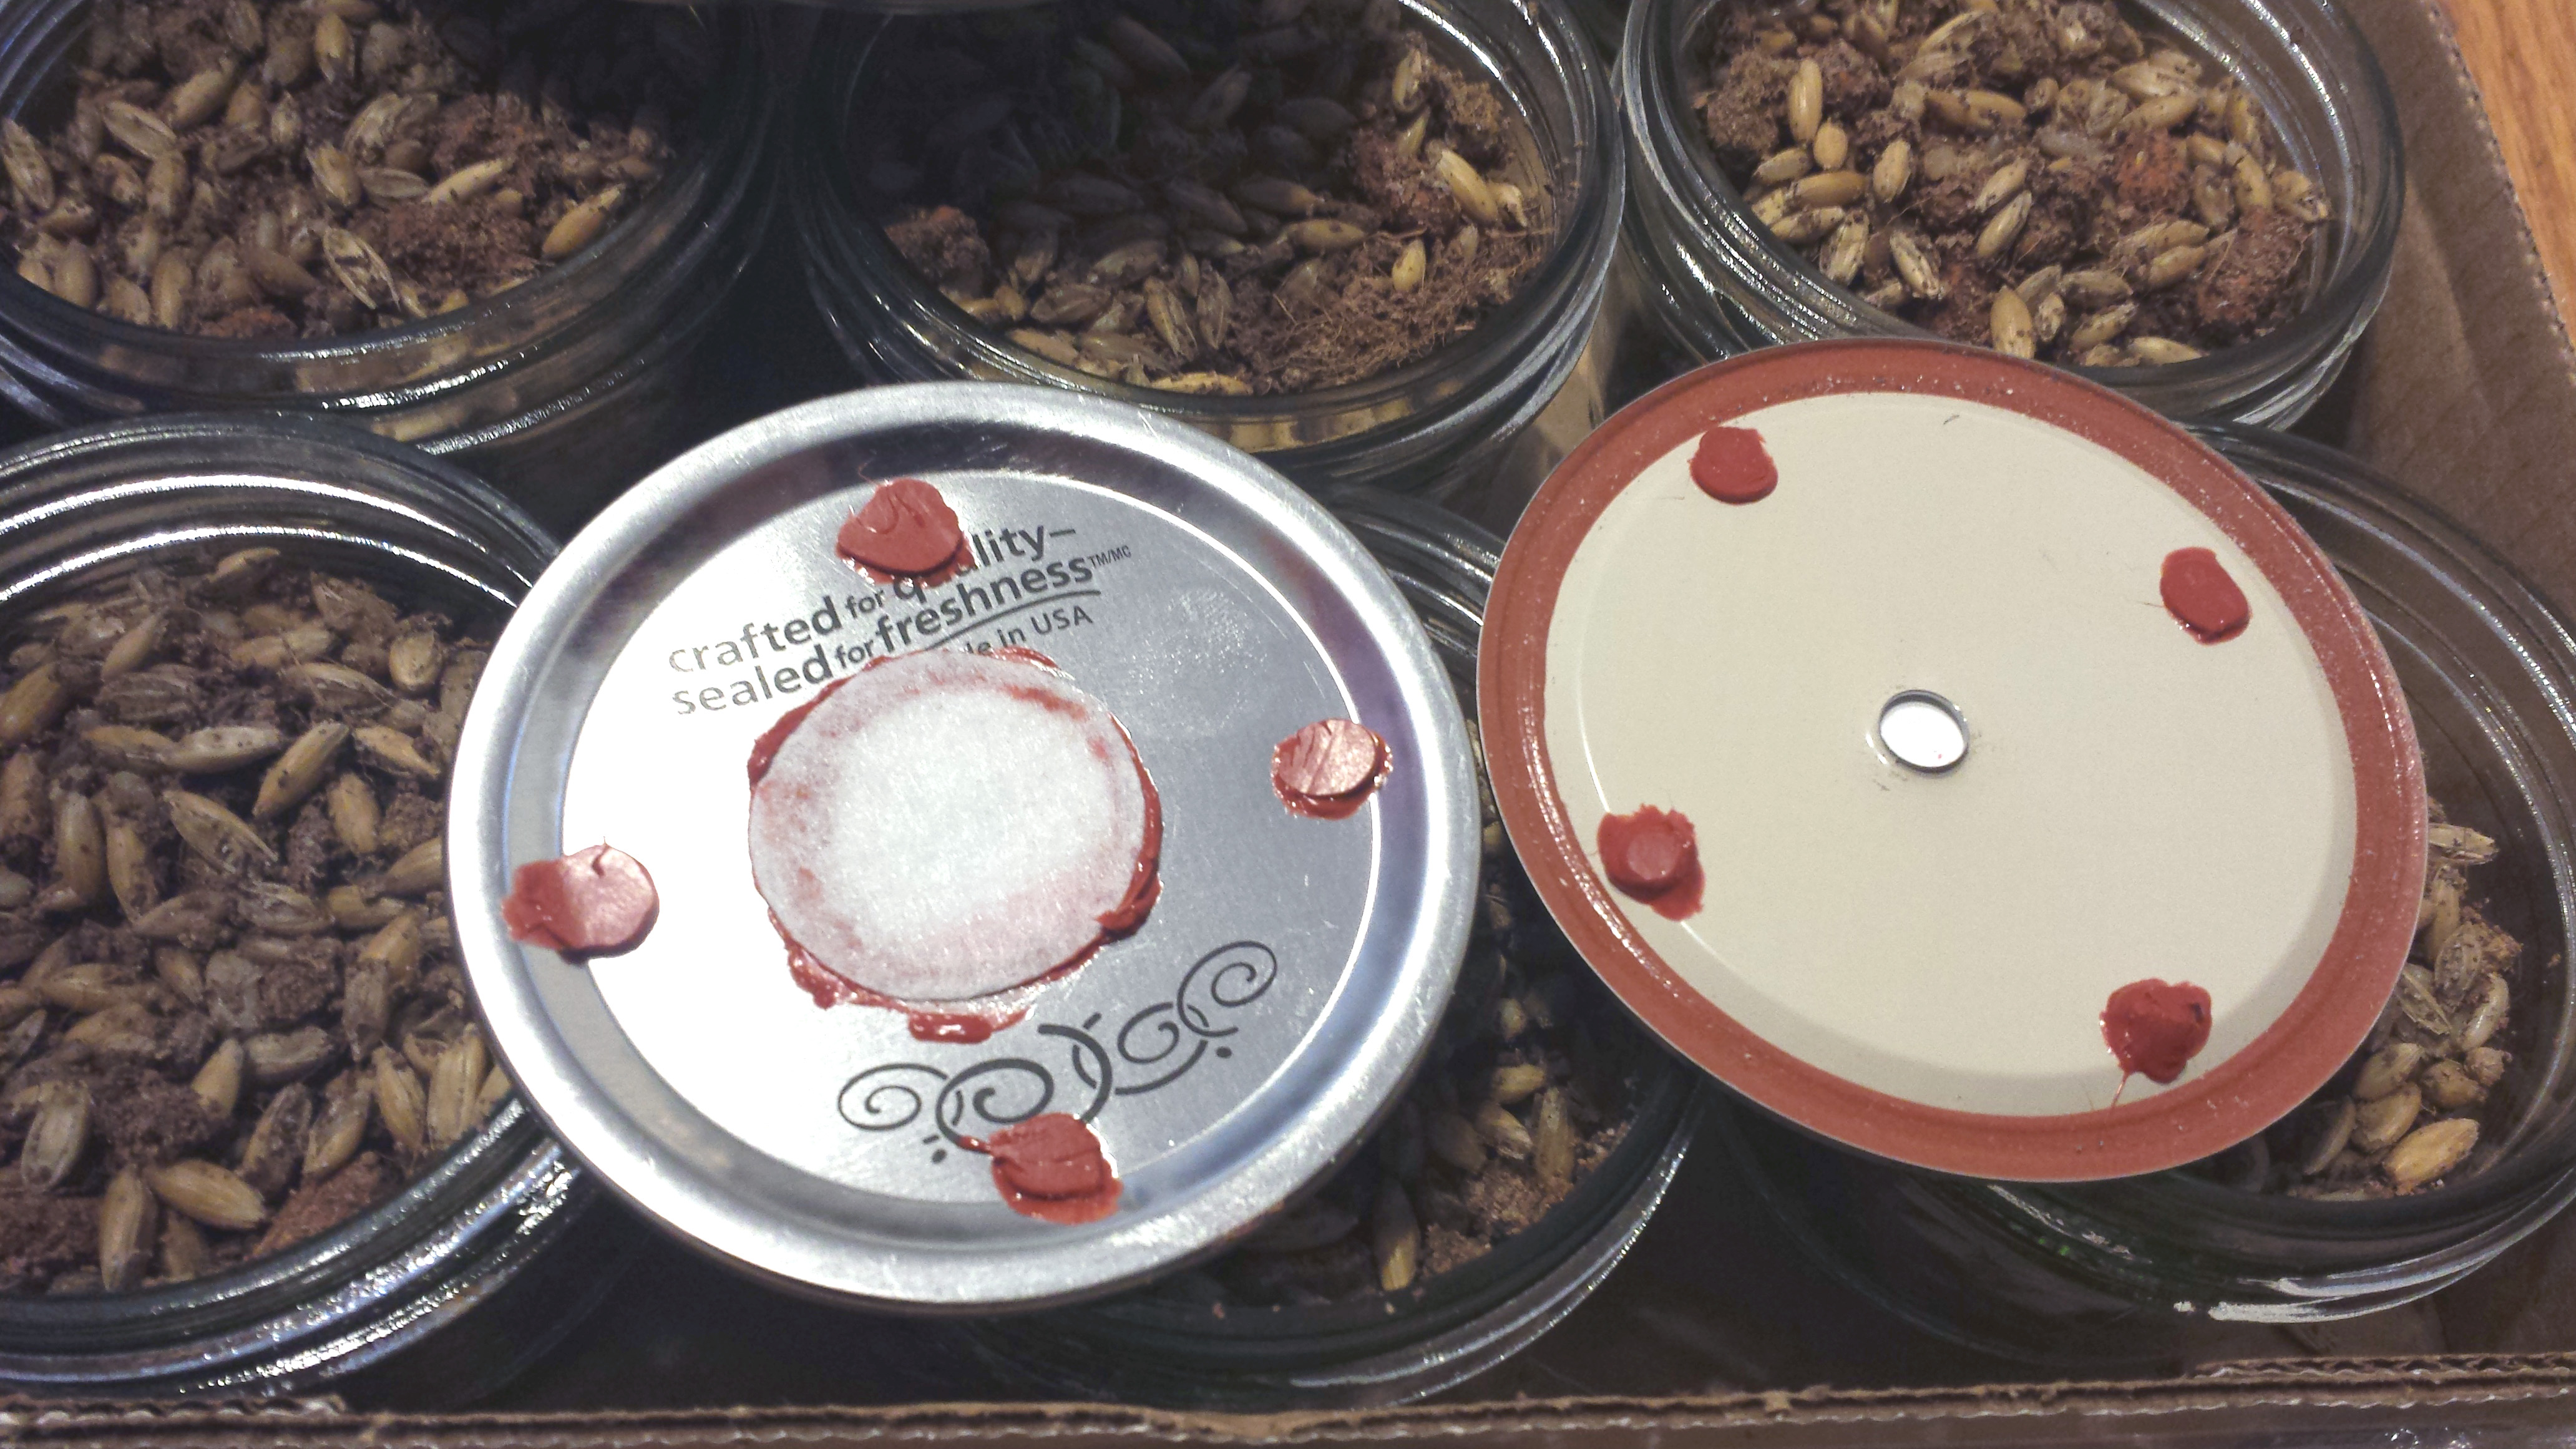
5. Adding the Grain Spawn
Depending on your goals, you will have different options for spawn. If you don’t have a pressure cooker the only real option is to use brown rice flour and boil the jars in a pot. In future articles we plan to investigate just what will and will not grow on a brown rice flour cake.
If you do have a pressure cooker, make your favorite grain spawn and fill up the jars nearly to the top. Leave some room for the grains to expand in the pressure cooker. If you are familiar with similar teks, it may call for a dry layer of vermiculite to act as a barrier. This is not needed, since we have a filter and injector ports.
Once the jars are filled, wipe them down quickly around the lip with a dry cloth or paper towel. Screw the lid on snugly and you are ready to go.
6. Sterilize
Now that we have our jars complete, its time to load them up into the pressure cooker. Some people like to cover their jars with tin foil. The thought being that the foil will keep out excessive moisture. I have never had moisture issues. I have noticed that the grains will slightly expand during the sterilization process.
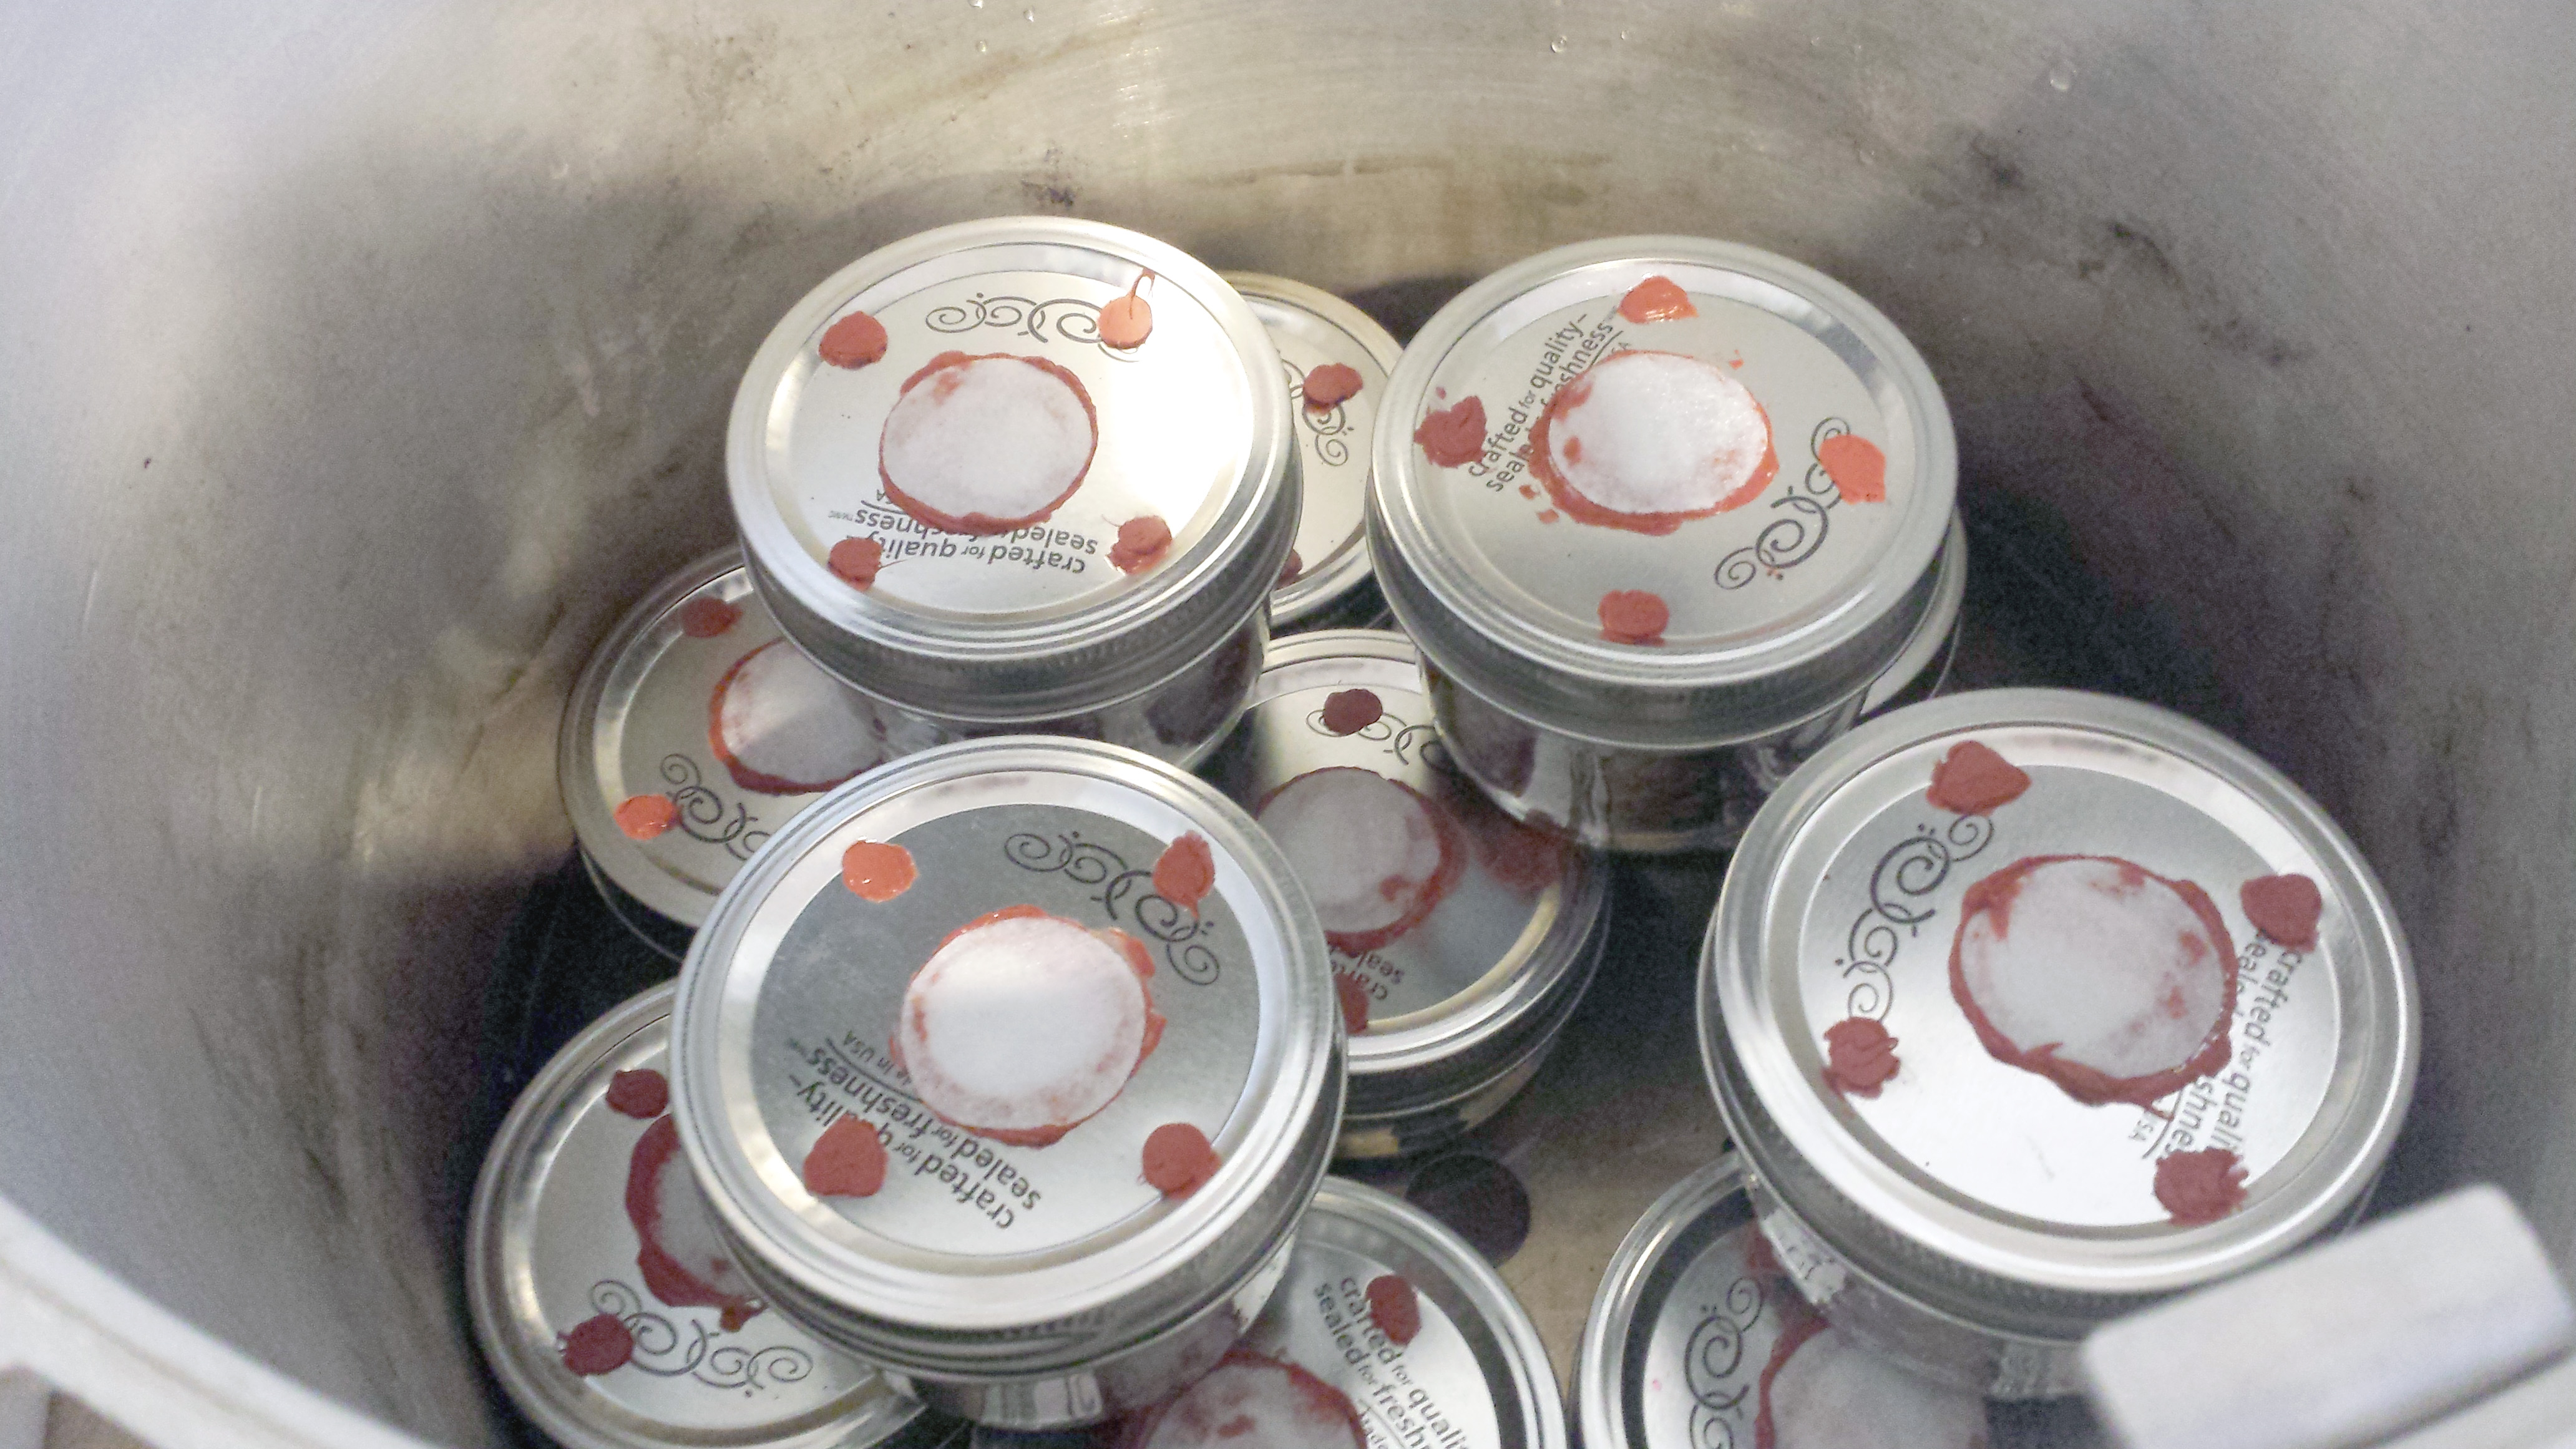
Fill the pressure cooker with enough water to last 90 minutes, but not enough to completely submerge the bottom row of jars. After the sterilization cycle, allow the filter grain jars to cool overnight.
7. Where to go From Here
Now that we have some grain spawn, it is time to inoculate. Typically these jars will last approximately two weeks before the moisture content is thrown off. If you are familiar with the Cup-Of-Agar the rest of the process can be done fairly simply and sterile. Alternatively any of our liquid culture syringes could be directly injected into one of the ports. Only a few milliliters of liquid culture would be needed per half pink jar. One 10 ml syringe could easily inoculate up to four filter grain jars.
Once inoculated keep the jars at room temperature in an area without direct sunlight. Full colonization should occur with a half pint jar in about two weeks, depending on species.
I really liked your article post.Really looking forward to read more. Awesome. Bostel
Thanks a lot for the blog.Really looking forward to read more. Keep writing.
Thank you for the sensible critique. Me and my neighbor were just preparing to do a little research on this. We got a grab a book from our area library but I think I learned more from this post. I am very glad to see such wonderful information being shared freely out there.
When was this posted?
a few months ago
Hi! I’ve been reading your weblog for some time now and finally got the courage to go ahead and give you a shout out from Dallas Tx! Just wanted to say keep up the great work!
Hello my family member! I want to say that this post is awesome, nice written and come with almost all vital infos. I’d like to peer extra posts like this .|
Wow in actual fact a great post. I like this.I just passed this onto a colleague who was doing a little research on that. And he actually bought me lunch because I found it for him. Overall, Lots of great information and inspiration, both of which we all need!
Brilliant, thanks, I will bookmark you now.
Usually I do not post on blogs, but I would like to say that this article really forced me to do so! Thanks, really nice article.
Awesome post, carry on delivering the goods!
I truly appreciate this post. I’ve been looking all over for this! Thank goodness I found it on Bing. You’ve made my day! Thank you again
We are a group of volunteers and opening a new scheme in our community. Your web site offered us with helpful info to work on. You have performed a formidable activity and our whole neighborhood shall be grateful to you.
Good post, do you have any others on this topic?
Hey there! Would you mind if I share your blog with my myspace group? There’s a lot of people that I think would really appreciate your content. Please let me know. Thanks
go for it
Perfectly composed written content, Really enjoyed reading.
Great site. cheers for Posting.